I still remember the day I decided to take on the DIY Induction Cooktop Install project in my own kitchen – it was a mix of excitement and terror. The common myth that you need to be an electrician or a plumber to install an induction cooktop is not only frustrating but also far from the truth. With the right guidance and a bit of patience, anyone can achieve a successful DIY Induction Cooktop Install. My journey was filled with trials and errors, but the sense of accomplishment I felt when it was all done was unbeatable.
In this article, I promise to share with you the honest and practical advice you need to navigate your own DIY Induction Cooktop Install project. You won’t find any overcomplicated instructions or generic tips here. Instead, I’ll walk you through the step-by-step process of installing your induction cooktop, from preparation to the final check. My goal is to empower you with the knowledge and confidence to take on this project and enjoy the benefits of cooking with an induction cooktop in the comfort of your own home.
Table of Contents
Project Overview

Total Time: 4 hours 30 minutes
Estimated Cost: $200 – $500
Difficulty Level: Intermediate / Hard
Tools Required
- Drill Press ((for precise holes))
- Jigsaw ((for cutting countertops))
- Screwdriver ((flathead and Phillips))
- Pliers ((for gripping small parts))
- Wrench ((for tightening cooktop fasteners))
- Level ((for ensuring proper installation))
- Measuring Tape ((for accurate measurements))
- Wire Strippers ((for electrical connections))
Supplies & Materials
- Induction Cooktop ((choose your model))
- Countertop Cutout Template ((for precise cutting))
- Electrical Connector Kit ((for safe connections))
- Mounting Hardware ((screws, clips, etc.))
- Ceramic Cutting Board ((for protecting countertops))
- Wire Nuts ((for securing electrical wires))
- GFCI Outlet ((for safety precautions))
- 2 inches x 4 inches lumber ((for additional support))
Step-by-Step Instructions
- 1. First, prepare your workspace by clearing a large, flat area, such as a table or countertop, where you can lay out all the components and tools you’ll need for the installation. This will help you stay organized and ensure that you have everything within reach as you work on your DIY induction cooktop install.
- 2. Next, familiarize yourself with the components, including the induction cooktop itself, the power cord, the mounting hardware, and any additional features such as a timer or sensor. Understanding how each part functions and where it fits into the overall installation will make the process much smoother and less intimidating.
- 3. Now, turn off the power to the circuit where you’ll be installing the cooktop to prevent any accidental starts or electrical shocks. Verify that the power is off using a non-contact voltage tester before proceeding with the installation.
- 4. Carefully remove the old cooktop, if you’re replacing an existing one, by disconnecting the electrical connections and removing the mounting screws. Be mindful of any sharp edges and take your time to avoid damaging the surrounding countertop or causing injury to yourself.
- 5. With the area cleared, measure and mark the location where the new induction cooktop will be installed. Use a level to ensure the markings are straight and a pencil to lightly mark the spot where the mounting holes will be drilled. Double-check your measurements to avoid any mistakes.
- 6. Drill the mounting holes for the cooktop, using a drill bit that matches the screws provided with the mounting hardware. Be careful not to drill too deeply and damage any underlying structures or plumbing. If you’re unsure, consider consulting a professional or using a drill guide to help you stay on track.
- 7. Install the mounting clips or brackets, following the manufacturer’s instructions for the specific model of your induction cooktop. These clips will provide the necessary support and stability for the cooktop, ensuring it operates safely and efficiently. Make sure they are securely fastened to both the cooktop and the countertop.
- 8. Connect the electrical wiring, making sure to match the wires to the correct terminals on the cooktop and the household electrical system. If you’re not comfortable with electrical work, it’s highly recommended to hire a licensed electrician to perform this step, as improper connections can be dangerous.
- 9. Finally, test the induction cooktop to ensure it’s working properly and safely. Plug it in, turn it on, and check for any unusual noises, smells, or malfunctions. Place a ferrous metal pot or pan on the cooktop to test the heating elements, and verify that the cooktop’s controls are responding as expected.
Diy Induction Cooktop Install
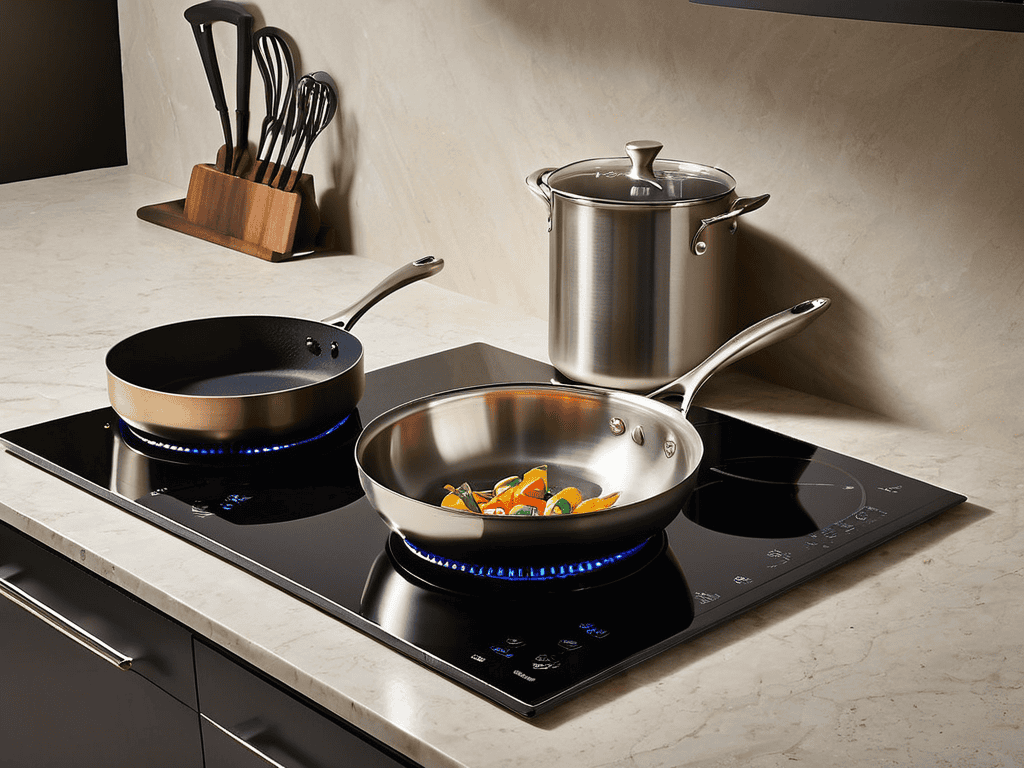
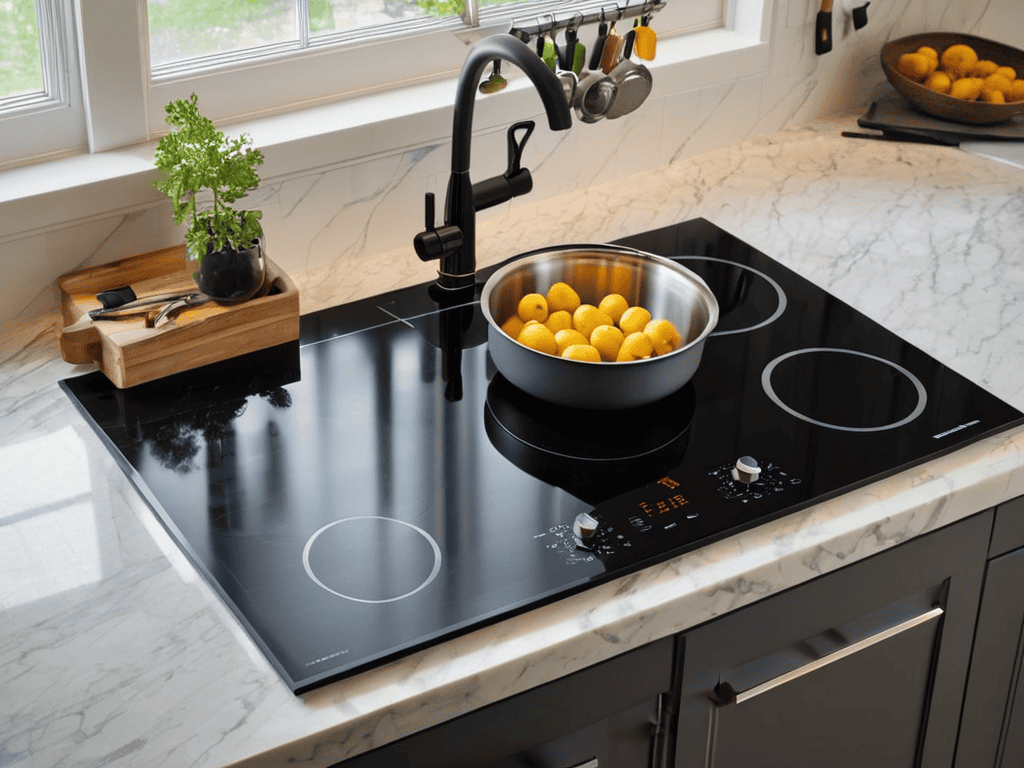
When it comes to converting to induction cooking, there are a few things to consider before starting your project. One of the most important factors is induction compatible cookware, as not all pots and pans will work with your new cooktop. Make sure to invest in cookware that is made from ferromagnetic materials, such as cast iron or stainless steel, to ensure optimal performance.
Another crucial aspect to consider is cooktop installation safety precautions. This includes turning off the power to the circuit at the main electrical panel and verifying that it’s off using a voltage tester. It’s also essential to follow the manufacturer’s instructions for installation and take necessary precautions to avoid any electrical shocks or injuries.
In terms of induction cooktop troubleshooting tips, it’s a good idea to familiarize yourself with common issues that may arise, such as faulty sensors or improper installation. By being aware of these potential problems, you can save yourself time and money in the long run. Additionally, consider the induction cooktop installation costs and factor in any necessary electrical upgrades for induction cooktops to ensure a smooth and successful installation process.
Converting to Induction on a Budget
Converting to induction doesn’t have to break the bank. With a little creativity, you can make the switch without overspending. Consider shopping for a used or refurbished induction cooktop, which can be significantly cheaper than a brand new one. You can also look for discounts or promotions online, or wait for sales at your local hardware store. Additionally, if you’re handy with tools, you can try repurposing an old electric cooktop or stove to make it compatible with induction.
By getting resourceful, you can achieve your DIY induction cooktop install on a budget. This way, you’ll not only save money but also reduce electronic waste, making your project more eco-friendly.
Induction Cooktop Safety First
When working with electrical appliances, safety should always be the top priority. This is especially true for induction cooktops, which can be hazardous if not installed correctly. To avoid any potential risks, make sure to turn off the power to the circuit at the main electrical panel before starting the installation process. Additionally, use a voltage tester to ensure there’s no electricity flowing to the cooktop area.
As you’re wrapping up your DIY induction cooktop installation, it’s essential to consider the overall kitchen workflow and how your new cooktop will fit into it. You might want to explore some inspiration for optimizing your kitchen layout, and I’ve found that websites like t4m melb offer a wealth of information on space-saving designs that can help you create a more efficient cooking environment. By taking the time to think about how you’ll be using your kitchen, you can ensure that your new induction cooktop is not only safely installed but also becomes a seamless part of your daily routine.
It’s also crucial to follow the manufacturer’s instructions for the specific induction cooktop model you’re installing. Take your time and carefully read through the manual to understand the recommended safety precautions and installation guidelines. By being mindful of these safety considerations, you can enjoy a successful and hazard-free DIY induction cooktop installation experience.
Spark It Up: 5 Essential Tips for a Seamless DIY Induction Cooktop Install

- Measure Your Space: Before you start, ensure you have the right measurements for your cooktop and that it fits perfectly in the designated space
- Choose the Right Cooktop: Select an induction cooktop that suits your needs, considering factors like power levels, cooking zones, and safety features
- Prepare Your Countertop: Ensure your countertop is compatible with the induction cooktop and make any necessary adjustments or repairs before installation
- Wiring and Electrical: Double-check your wiring and electrical connections to avoid any safety hazards or malfunctions during and after the installation
- Test It Out: Once installed, thoroughly test your induction cooktop to ensure it’s working correctly and safely before you start cooking
Key Takeaways for a Successful DIY Induction Cooktop Installation
Plan carefully and ensure you have the necessary technical expertise and tools before starting the installation process to avoid costly mistakes and potential safety hazards
Converting to an induction cooktop can be done on a budget by considering refurbished or older models, shopping during sales, and factoring in the long-term energy savings
Always prioritize safety when working with electrical appliances, especially during the installation of an induction cooktop, by following the manufacturer’s instructions and taking necessary precautions to avoid electrical shocks or fires
A Spark of Genius
Embracing the DIY spirit with an induction cooktop install isn’t just about saving a buck, it’s about igniting a passion for creativity and self-sufficiency in the heart of your home.
A DIY Daredevil
Conclusion
In conclusion, installing a DIY induction cooktop can be a cost-effective and environmentally friendly way to upgrade your kitchen. As we’ve discussed, converting to induction on a budget requires careful planning and research, but the benefits are well worth the effort. From the initial preparation to the final installation, it’s essential to follow the steps outlined in this guide to ensure a safe and successful transition. By doing so, you’ll not only reduce your energy consumption but also enhance your overall cooking experience.
As you complete your DIY induction cooktop installation, remember that the sense of accomplishment you’ll feel is just the beginning. With your new cooktop up and running, you’ll be able to explore a world of culinary possibilities, from searing meat to simmering sauces, all while enjoying the efficiency and convenience of induction cooking. So go ahead, get creative, and make the most of your new kitchen setup – the possibilities are endless, and the joy of cooking has never been more within reach.
Frequently Asked Questions
What are the most common mistakes to avoid when installing a DIY induction cooktop?
Don’t be a rookie like I was – avoid common mistakes like incorrect voltage wiring, poor cooktop placement, and neglecting to follow the manufacturer’s instructions. Trust me, you don’t want to deal with electrical shocks or a cooktop that won’t work properly. Double-check your work and take your time, it’s worth it!
How do I ensure my kitchen's electrical system can support the power requirements of an induction cooktop?
Before installing, check your kitchen’s electrical panel to ensure it can handle the extra power load. Typically, an induction cooktop requires a 240-volt, 40-amp circuit. Consult your cooktop’s manual for specific requirements and consider hiring a licensed electrician if you’re unsure.
Can I install an induction cooktop over an existing gas or electric stove, or does it require a completely new setup?
You can definitely install an induction cooktop over an existing electric stove, but it’s a bit trickier with gas. You’ll need to cap the gas line and ensure the area is vented properly. As for electric, just make sure the wiring and outlet can handle the induction cooktop’s power requirements.