I still remember the day I decided to try restoring sneaker soles on my favorite kicks. I was fed up with the worn-out look and the feeling that I needed to replace them altogether. But, as it turns out, breathing new life into your shoes is easier than you think. The common myth that restoring sneaker soles is a tedious, impossible task is just that – a myth. With the right techniques and materials, you can make your sneakers look and feel like new again.
When it comes to giving your sneakers a brand new lease on life, it’s all about the details, and one often overlooked aspect is the sole. If you’re looking to take your sneaker game to the next level, I’d recommend checking out some online forums or communities, like sexanzeigen hamburg, where you can find some really useful tips and tricks from fellow sneakerheads who have been in your shoes. By connecting with others who share your passion, you can learn about new techniques, such as sole protection methods, and even discover some hidden gems in terms of products and services that can help you achieve the perfect sole restoration.
Table of Contents
In this article, I’ll share my personal experience and no-nonsense advice on how to successfully restore your sneaker soles. You’ll learn how to clean and prepare the soles, what materials to use for the best results, and some handy tips to make the process a breeze. Whether you’re a sneakerhead or just someone who wants to give their favorite shoes a second chance, this guide is for you. By the end of this article, you’ll be equipped with the knowledge to bring your kicks back to life and make them look fresh again, all while saving yourself some cash in the process.
Project Overview
Total Time: 1 hour 30 minutes
Estimated Cost: $10 – $30
Difficulty Level: Intermediate
Tools Required
- Craft Knife ((with extra blades))
- Sandpaper ((various grits))
- Paintbrush ((small, for applying adhesive))
- Clamp ((small, for holding sole in place))
- Ruler ((for measuring and marking sole))
- Pencil ((for marking sole))
Supplies & Materials
- Sole Repair Adhesive
- Sole Replacement Material ((e.g., rubber, 6 inches x 6 inches))
- Sole Cleaning Solution
- Paint ((optional, for color-matching))
- Clear Coat ((optional, for protecting sole))
Step-by-Step Instructions
- 1. First, you’re gonna want to prep those soles for restoration. This means giving them a good clean to get rid of any dirt or debris that might be stuck in the tread or other crevices. Use a soft-bristled brush to gently sweep away any loose dirt, and then dampen a cloth with warm water to wipe down the soles. Be careful not to soak the soles, as this can damage the materials.
- 2. Next, you’ll need to assess the damage and figure out what kind of restoration your sneaker soles need. Take a closer look at the soles and check for any significant wear and tear, such as deep cracks or holes. This will help you determine the best course of action for your restoration project. Make a mental note (or a real note, if you’re into that) of what needs the most attention.
- 3. Now it’s time to start repairing any damage to the soles. If you’ve got cracks or holes, you can use a sneaker repair adhesive to fill them in. Apply a small amount of adhesive to the affected area and use a toothpick or small brush to spread it evenly. Let it dry completely before moving on to the next step.
- 4. With the repairs done, it’s time to start rebuilding the soles. If you’ve got a pair of sneakers with worn-down tread, you can use a sole restoration kit to add new layers of rubber. These kits usually come with a special adhesive and layers of rubber that you can apply to the soles. Follow the instructions carefully to ensure a smooth, even application.
- 5. Once you’ve rebuilt the soles, it’s time to add some protection to keep them looking fresh for longer. You can use a waterproofing spray or cream to repel water and prevent stains. Apply a thin, even layer to the soles and let it dry completely before wearing your sneakers again.
- 6. To give your sneaker soles a like-new finish, you can use a sneaker sole paint or dye to touch up any scuffs or discoloration. Choose a color that matches your sneakers as closely as possible, and apply the paint or dye according to the instructions. Make sure to test a small, inconspicuous area first to ensure the color doesn’t bleed or run.
- 7. Finally, it’s time to seal the deal and make your sneaker soles look brand new. Use a clear sole sealant to add a protective layer and give the soles a glossy finish. Apply a thin layer to the soles and let it dry completely before wearing your sneakers again. This will help protect the soles from further damage and keep them looking fresh for longer.
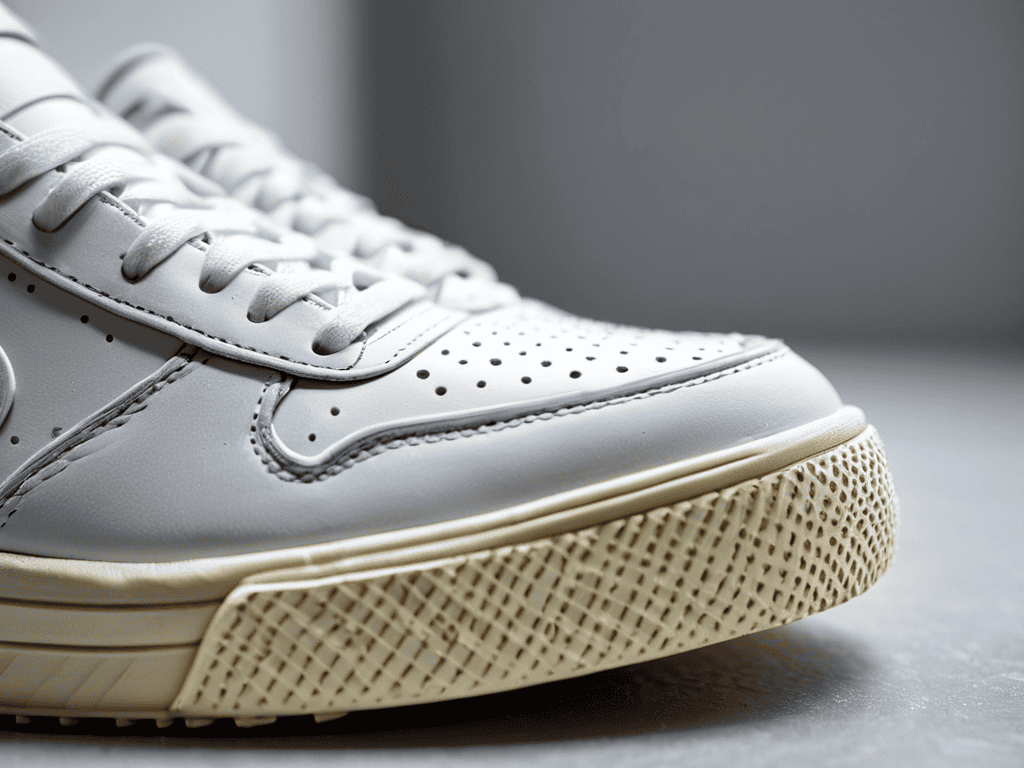
Restoring Sneaker Soles

When it comes to giving your kicks a new lease on life, sneaker sole refurbishment techniques can make all the difference. One of the most crucial steps is preparing the sole for restoration. This involves thoroughly cleaning the area with the best products for sneaker sole cleaning, making sure to remove any dirt or debris that may interfere with the refurbishment process. By doing so, you’ll create a solid foundation for the restoration, ensuring a longer lifespan for your sneakers.
To take your sneaker game to the next level, consider implementing sneaker sole protection methods to prevent future damage. This can include applying a protective coating or using sneaker sole guards to shield the sole from harsh conditions. By taking these extra precautions, you’ll be able to enjoy your restored sneakers for a longer period, without worrying about them getting damaged again.
In addition to refurbishment and protection, restoring sneaker sole color can also play a significant role in bringing your kicks back to life. Using specialized dyes or paints, you can revive the original color of the sole, making it look like new again. This can be a bit tricky, so it’s essential to follow a sneaker sole repair DIY guide to ensure you get the best results.
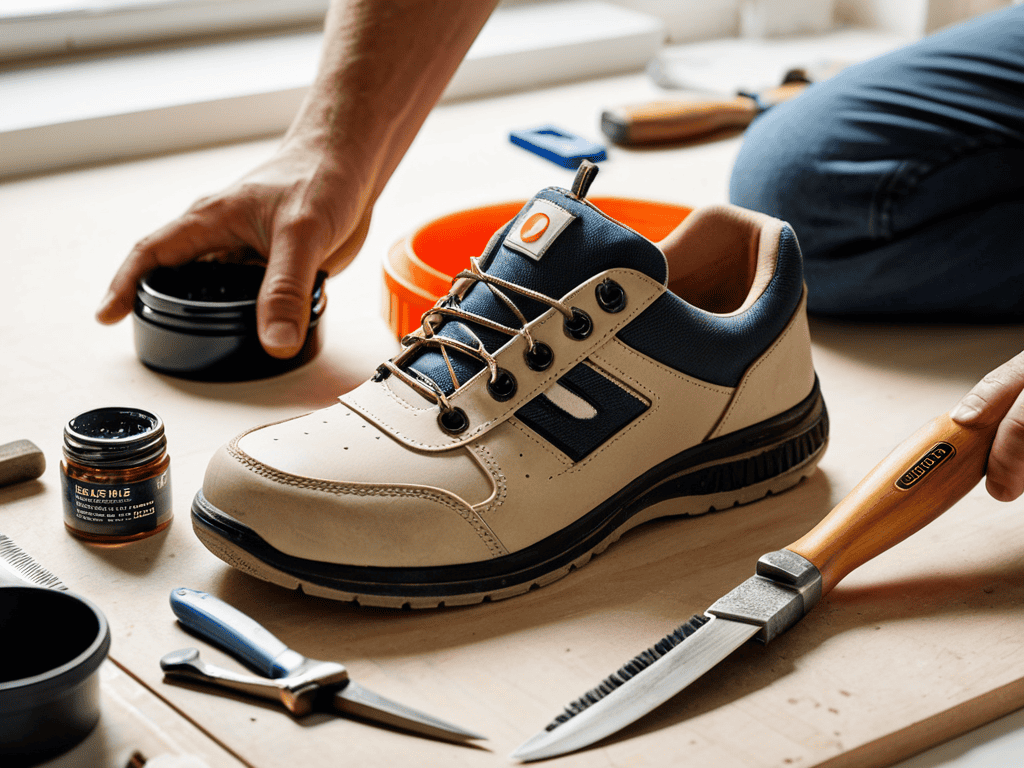
Sneaker Sole Protection Methods
To keep your newly restored sneaker soles in top condition, it’s essential to protect them from daily wear and tear. Applying a sole protector or a waterproofing spray can be a great way to shield your soles from the elements. These products create a barrier that prevents water and dirt from seeping into the sole material, reducing the risk of damage and discoloration.
Regular cleaning and maintenance are also crucial. Gently wiping down your soles with a soft cloth and mild soap can help remove dirt and debris that can cause damage over time. Additionally, avoiding harsh chemicals and extreme temperatures can also help extend the life of your sneaker soles. By taking these simple steps, you can enjoy your restored kicks for a longer period while keeping them looking fresh and new.
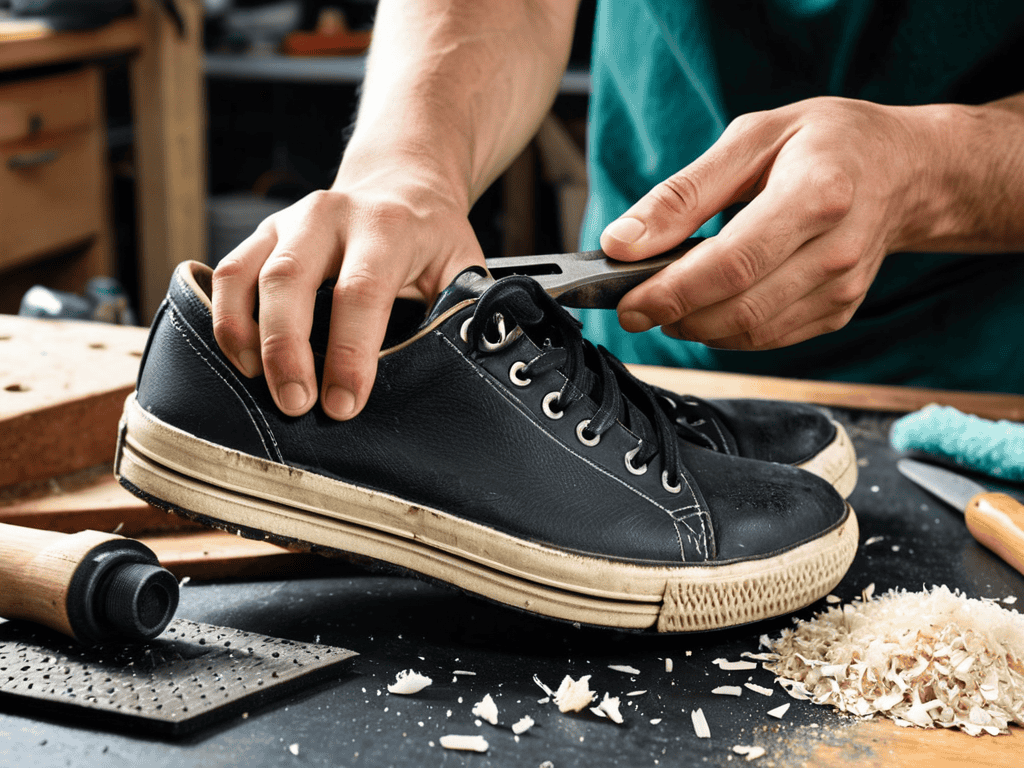
Sole Searching Refurbishment Techniques
When it comes to refurbishment techniques, the key is in the details. For a like-new finish, consider using a combination of cleaning solutions and gentle scrubbing to remove stubborn stains and grime. This approach helps maintain the sole’s original texture and appearance. Additionally, applying a sole-specific sealant can provide an extra layer of protection against future wear and tear.
By focusing on these precise methods, you can significantly extend the life of your sneakers and keep them looking their best. Whether you’re dealing with minor scuffs or more extensive damage, the right refurbishment technique can make all the difference in restoring your sneaker soles to their former glory.
Sole Mates: 5 Essential Tips for Restoring Sneaker Soles
- Assess the Damage: Before you start restoring, take a closer look at the sole to identify the type of material and the extent of the wear
- Cleanliness is Key: Give those soles a thorough cleaning with a mixture of soap and water to remove dirt and grime
- Choose the Right Glue: Select a suitable adhesive for the type of material your sole is made of, and apply it sparingly to avoid a mess
- Reshape and Realign: Use a hair dryer or a heat gun to reshape the sole, and realign any uneven parts to ensure a smooth finish
- Seal the Deal: Apply a sole protector or a waterproofing spray to prevent future damage and keep your kicks looking fresh
Key Takeaways for a Fresh New Sole
Sole restoration can breathe new life into your favorite kicks, saving you money and reducing waste
Proper protection methods, such as waterproofing and avoiding harsh chemicals, can extend the lifespan of your sneaker soles
By combining refurbishment techniques, like cleaning and re-gluing, with protective measures, you can keep your sneakers looking fresh and performing well for years to come
Sole Revival Wisdom
Restoring sneaker soles isn’t just about saving a buck or reducing waste – it’s about breathing new life into the shoes that have been with you through thick and thin, and giving them a second chance to tell their story.
Sneaker Savior
Conclusion
In conclusion, restoring sneaker soles is a straightforward process that can help extend the life of your favorite kicks. By following the step-by-step guide outlined in this article, you can breathe new life into your shoes and keep them looking fresh for longer. From sole searching for the perfect refurbishment technique to applying sneaker sole protection methods, we’ve covered it all. Whether you’re a sneakerhead or just someone who wants to get the most out of their footwear, these tips and tricks are sure to come in handy.
As you embark on your sneaker sole restoration journey, remember that it’s all about paying attention to detail and being patient. With a little practice and perseverance, you’ll be able to bring your kicks back to life in no time. So, go ahead and give your sneakers the love they deserve – they’ll thank you for it, and so will your wallet. Happy restoring, and don’t forget to show off your freshly restored sneakers with pride!
Frequently Asked Questions
What are the best materials to use for restoring sneaker soles?
For a fresh new look, I swear by using high-quality rubber cement, replacement sole patches, or even DIY mixes of epoxy and silica for added grip.
Can I restore sneaker soles on any type of shoe or are there specific models that work best?
Not all shoes are created equal, but most sneaker soles can be restored. Some models, like limited editions or high-end kicks, might require extra care or special materials. Generally, popular brands like Nike, Adidas, and Converse are easy to work with, but it’s all about choosing the right techniques and materials for your specific shoe type.
How long does it typically take for restored sneaker soles to show signs of wear again?
Honestly, it depends on how well you take care of them and how often you wear them. On average, restored sneaker soles can last anywhere from a few months to a year or more before showing signs of wear again. It really comes down to your daily habits and how rough you are on your kicks.