I still remember the first time I tried Wax Seal Stamping – I was attempting to add a personal touch to my wedding invitations, and let’s just say it was a bit of a disaster. The wax was too runny, the stamp was too big, and the whole thing ended up looking like a messy blob. But despite the initial frustration, I was determined to master the art of Wax Seal Stamping. And that’s exactly what I want to share with you – the simple, no-nonsense tips and tricks that will help you achieve a beautiful, elegant seal on your letters, gifts, and documents.
In this article, I’ll be sharing my personal experience and expertise on how to get started with Wax Seal Stamping, from choosing the right wax and stamp to troubleshooting common mistakes. You’ll learn how to create a professional-looking seal that adds a touch of sophistication to any item, and how to avoid the common pitfalls that can leave you feeling frustrated and defeated. Whether you’re a crafty DIY enthusiast or just looking for a unique way to express yourself, this guide will provide you with the honest, practical advice you need to succeed at Wax Seal Stamping.
Table of Contents
Project Overview
Total Time: 1 hour 15 minutes
Estimated Cost: $15 – $30
Difficulty Level: Intermediate
Tools Required
- Wax Seal Stamp ((custom or pre-made))
- Melting Pot ((for melting wax))
- Spoon or Wax Ladle ((for pouring wax))
- Parchment Paper ((for protecting surfaces))
- Heat Resistance Surface ((for placing melting pot))
Supplies & Materials
- Wax Pellets or Stick ((various colors))
- Sealing Wax Gun ((optional))
- Paper or Envelope ((for stamping))
- Thermometer ((for monitoring temperature))
Step-by-Step Instructions
- 1. First, gather all the necessary materials for wax seal stamping, including a wax seal stamp, a stick of sealing wax, and a heat source, such as a candle flame or a wax warmer. Make sure your workspace is clear and stable to avoid any accidents.
- 2. Next, prepare your sealing wax by cutting it into small pieces, which will make it easier to melt and handle. You can use different colors of wax to create a unique and personalized look for your seals. Simply cut the wax into small pieces and set them aside.
- 3. Now, it’s time to melt the wax using your chosen heat source. If you’re using a candle flame, hold the wax piece over the flame, rotating it slowly until it’s completely melted. If you’re using a wax warmer, simply place the wax piece inside and wait for it to melt. Be careful not to overheat the wax, as it can become too runny and difficult to work with.
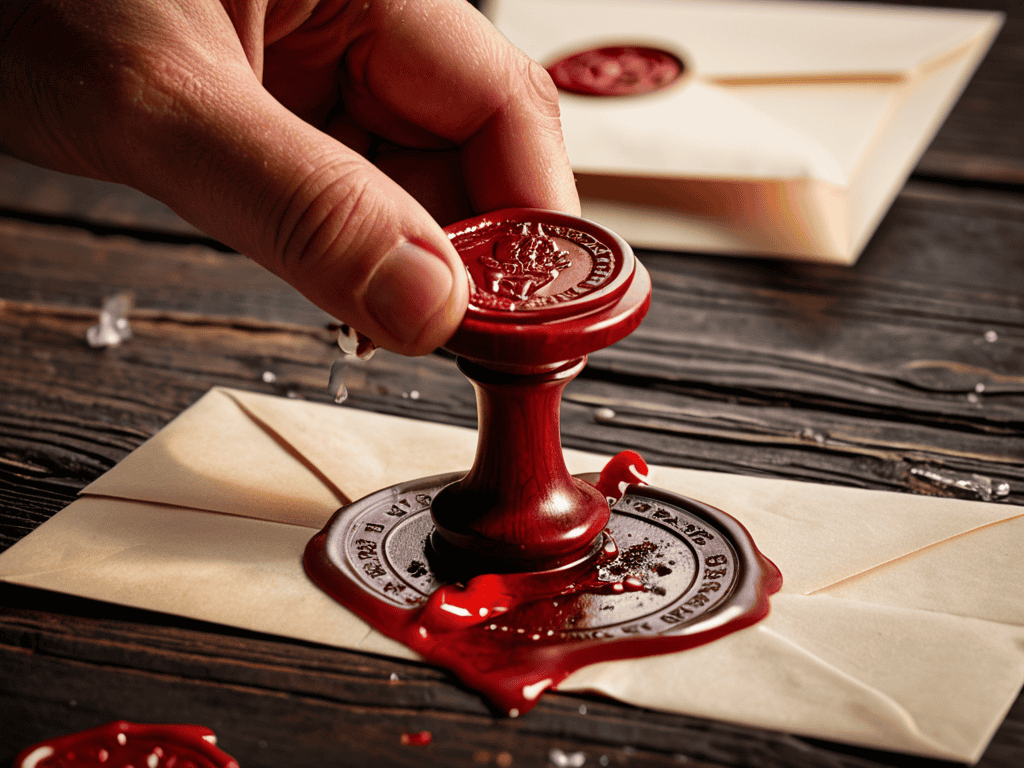
- 4. Once the wax is melted, carefully pour it onto the surface where you want to create the seal. Make sure to pour the wax in a steady stream, allowing it to form a small pool. This will help you achieve a smooth and even seal.
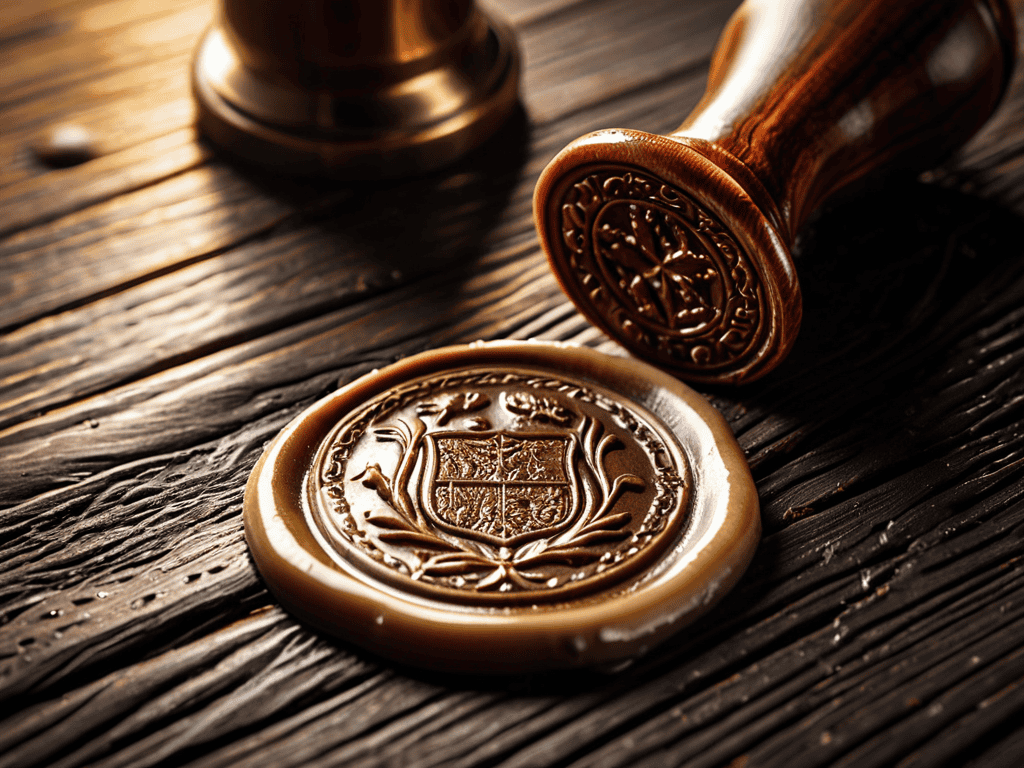
- 5. With the wax still warm and melted, it’s time to add the wax seal stamp. Gently press the stamp into the wax, making sure to apply even pressure to avoid creating air bubbles or uneven surfaces. Hold the stamp in place for a few seconds to allow the wax to cool and harden slightly.
- 6. As the wax continues to cool and harden, you can remove the stamp and inspect your seal. If necessary, you can use a small tool, such as a toothpick or a sealant remover, to refine the edges of the seal and create a clean finish. Be careful not to touch the seal, as the oil from your skin can damage the wax.
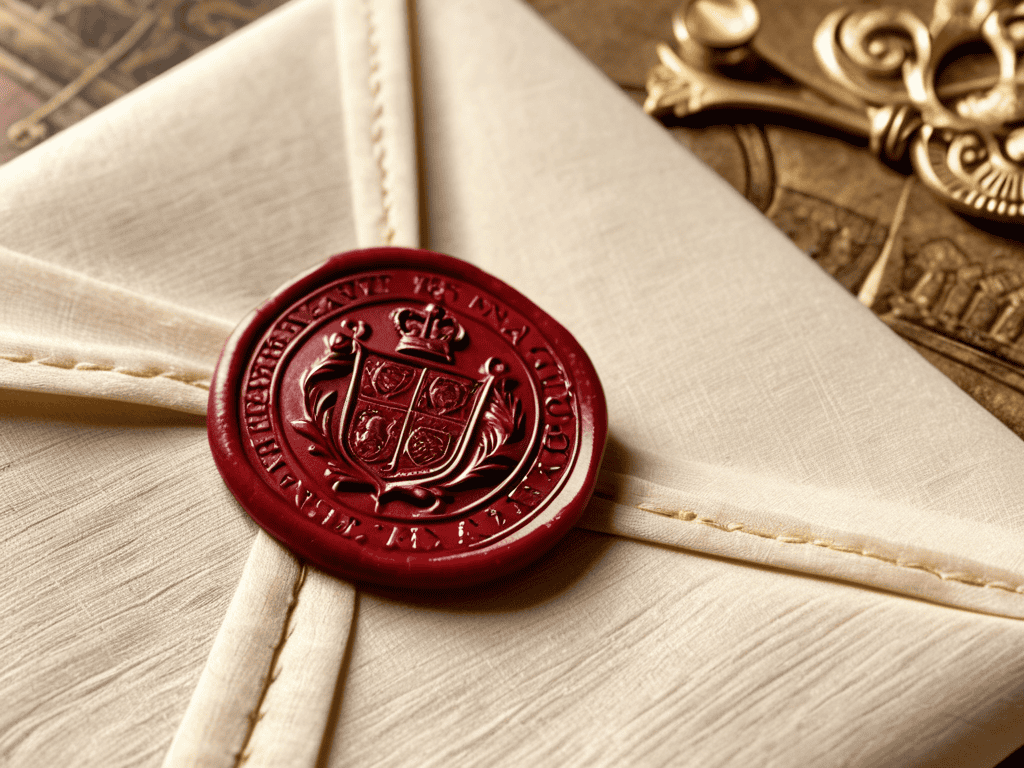
- 7. Finally, allow the seal to cool and harden completely before handling it. This can take several minutes, depending on the size of the seal and the temperature of the surrounding environment. Once the seal is hard, it’s ready to use, and you can attach it to your letter, package, or gift, adding a touch of timeless elegance to your correspondence or presentation.
Wax Seal Stamping Mastery
To take your sealing game to the next level, it’s essential to understand the history of wax seals and how they’ve been used throughout time. This knowledge will help you appreciate the art form and make more informed decisions when it comes to choosing types of sealing wax and designing your own custom wax seal. By delving into the world of vintage letter writing, you’ll discover the significance of sealing wax color meanings and how they can add an extra layer of depth to your correspondence.
As you experiment with different wax seal stamping techniques, remember that practice makes perfect. Don’t be discouraged if your early attempts don’t turn out as expected – it’s all part of the process. Custom wax seal design can be a fun and creative outlet, allowing you to express your personality and style. Consider investing in a few different sealers and waxes to see what works best for you.
By mastering the art of wax sealing, you’ll be able to add a touch of elegance and sophistication to your letters and gifts. Whether you’re looking to create a vintage-inspired look or simply want to make your correspondence stand out, wax sealing is a timeless technique that’s sure to impress. With a little patience and practice, you’ll be well on your way to sealing like a pro.
Custom Seal Design Secrets
To take your wax seal stamping to the next level, consider creating a custom seal design that reflects your personality or brand. This can be as simple as using a monogram or initials, or as intricate as designing a unique symbol or image. With a custom seal, you can add an extra layer of elegance and sophistication to your letters, gifts, and packages. You can work with a designer or artist to create a one-of-a-kind design that suits your style and preferences.
As you continue to hone your wax seal stamping skills and explore the world of custom seal design, you may find yourself looking for inspiration or unique materials to take your craft to the next level. I’ve personally found that browsing through various online marketplaces and communities can be a great way to discover new ideas and connect with like-minded individuals. For instance, you can find a wide range of interesting items and services on websites like sex ads perth wa, which can sometimes lead to unexpected sources of inspiration for your creative projects. Remember, the key to mastering wax seal stamping is to stay curious and keep experimenting with different techniques and materials.
By investing in a custom seal, you’ll be able to make a lasting impression on the recipient, making your gifts and correspondence truly unforgettable. Whether you’re a business owner looking to enhance your brand or an individual seeking to add a personal touch, a custom seal design can help you achieve your goals and make your wax seal stamping stand out from the rest.
Vintage Wax Techniques Uncovered
To truly master wax seal stamping, it’s essential to explore vintage techniques that add an extra layer of sophistication. One of my favorite methods is layering different wax colors to create a beautiful, marbled effect. This involves carefully heating and blending the waxes to achieve a unique, swirling pattern that’s perfect for special occasions.
By experimenting with various wax colors and layering techniques, you can create one-of-a-kind seals that reflect your personal style. Whether you’re looking to add a touch of elegance to your wedding invitations or a hint of nostalgia to your letters, vintage wax techniques can help you achieve a truly distinctive look. With a little practice, you’ll be able to unlock the full potential of wax seal stamping and create stunning, handmade seals that impress.
Sealing Like a Pro: 5 Essential Wax Seal Stamping Tips
- Experiment with different wax colors to match your stationery or gift wrapping for a cohesive look
- Use a variety of seal designs, from simple initials to intricate logos, to add a personal touch to your correspondence
- Invest in a good quality wax seal stamp that will withstand repeated use and provide a clear impression
- Practice makes perfect: don’t be discouraged if your first few attempts at wax seal stamping don’t turn out as expected – keep trying until you get the hang of it
- Consider adding a few decorative elements, such as ribbons or washi tape, to complement your wax seal and take your packaging to the next level
Key Takeaways for Wax Seal Stamping Enthusiasts
I’ve learned that with the right techniques and a little practice, anyone can create stunning wax seals that add a touch of elegance to letters, gifts, and documents
Customizing your seal design can make all the difference – it’s amazing how a unique emblem or initials can elevate the entire wax sealing experience
Mastering vintage wax techniques can help you unlock new levels of creativity and sophistication in your wax seal stamping, from experimenting with different wax colors to perfecting the art of impression-making
Timeless Wisdom
Wax seal stamping is more than just a technique – it’s a way to leave a lasting impression, a tangible piece of yourself that transcends time and speaks directly to the heart of the recipient.
Emily J. Miller
Conclusion
As we conclude our journey through the world of wax seal stamping, it’s essential to reflect on the key takeaways. We’ve covered the basic steps to get started, delved into the realm of wax seal stamping mastery, and even explored the secrets of custom seal design and vintage wax techniques. By now, you should have a solid understanding of how to create your own unique wax seals and apply them to various items, from letters and gifts to documents and packages. Remember to always experiment with different designs and techniques to make your wax seals truly special.
As you embark on your wax seal stamping journey, remember that the true beauty of this craft lies in its ability to add a personal, human touch to our increasingly digital lives. So, don’t be afraid to get creative, try new things, and make mistakes – they’re all part of the process. With practice and patience, you’ll be able to create stunning wax seals that will make your items stand out and leave a lasting impression on those who receive them. So, go ahead, seal the deal, and make your mark on the world, one wax seal at a time.
Frequently Asked Questions
What kind of wax is best to use for seal stamping and where can I find it?
I swear by traditional sealing wax for its durability and elegance. You can find it at most craft stores or online marketplaces. Look for high-quality, flexible wax that’s specifically designed for seal stamping – it makes all the difference in achieving a crisp, clear impression.
How do I prevent the wax from sticking to the stamp or other surfaces?
To prevent wax from sticking, I lightly dust my stamp with powdered chalk or baby powder before inking it with melted wax – it’s a simple trick that makes a big difference. You can also chill your stamp in the fridge for a few minutes to reduce stickiness.
Can I use wax seal stamping on different types of paper or materials, such as fabric or wood?
You can definitely experiment with wax seal stamping on various materials, but results may vary. I’ve had success with paper, of course, and even some fabrics like cotton or linen. As for wood, it’s a bit trickier, but you can try it on smoother surfaces like wooden invitations or ornaments. Just be sure to test a small area first to ensure the wax adheres properly.