I still remember the first time I tried to automate my cold frames – it was a game-changer for my garden. I had heard all the myths about Cold-Frame Automation being too complicated or too expensive, but I was determined to give it a try. As it turns out, the truth is that automating your cold frames can be incredibly simple and cost-effective. By leveraging Cold-Frame Automation, you can extend your growing season and increase your yields without breaking the bank.
In this article, I’ll share my personal experience and practical tips for automating your cold frames. You’ll learn how to choose the right equipment, install it correctly, and troubleshoot common issues. I’ll cut through the hype and give you honest advice on what works and what doesn’t, so you can start enjoying the benefits of Cold-Frame Automation for yourself. Whether you’re a seasoned gardener or just starting out, this guide will give you the confidence to take your cold frame to the next level and start growing like a pro.
Table of Contents
Project Overview
Total Time: 4 hours 30 minutes
Estimated Cost: $100 – $200
Difficulty Level: Intermediate
Tools Required
- Drill Press ((for precise hole drilling))
- Jigsaw ((for cutting curves in wood))
- Impact Driver ((for driving large screws))
- Multimeter ((for testing electrical circuits))
- Wire Strippers ((for stripping electrical wires))
- Pliers ((for gripping small objects))
- Screwdrivers ((flathead and Phillips))
Supplies & Materials
- 2-in x 6-in lumber ((for frame construction))
- PVC Pipes ((for automated venting system))
- Electric Linear Actuator ((for automated lid opening))
- Thermostat ((for temperature control))
- Moisture Sensor ((for monitoring humidity levels))
- Waterproof Wire ((for outdoor electrical connections))
- Wood Screws ((for assembling the frame))
- Hinges ((for attaching the lid))
- Polyethylene Foam Board ((for insulation))
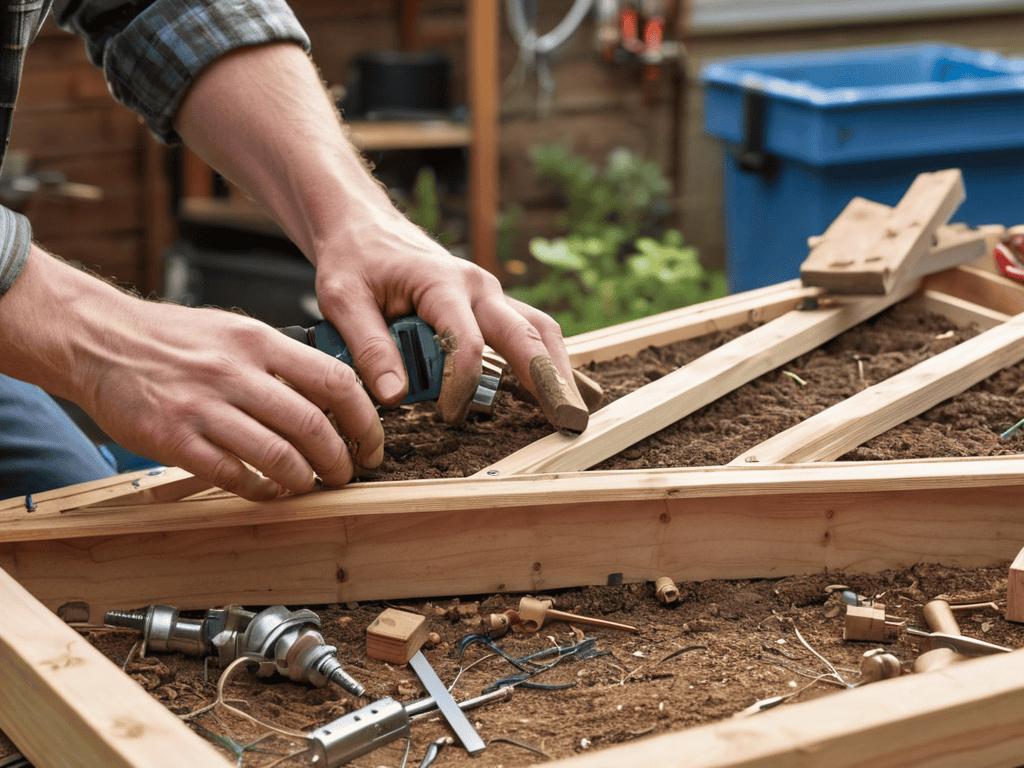
Step-by-Step Instructions
- 1. First, let’s start with the basics: you’ll need to assemble the automation kit. This usually includes a temperature sensor, a moisture sensor, and an automated vent opener. Make sure to follow the manufacturer’s instructions for assembling these components, and don’t hesitate to reach out if you have any questions.
- 2. Next, you’ll need to install the temperature sensor in your cold frame. This is typically done by attaching the sensor to the inside of the frame, about 2-3 inches from the soil. This will give you an accurate reading of the temperature inside the frame, which is crucial for optimal plant growth.
- 3. Now it’s time to set up the automated vent opener. This device will open and close the vents of your cold frame automatically, based on the temperature and moisture levels. Make sure to calibrate the device according to the manufacturer’s instructions, and test it to ensure it’s working properly.
- 4. The next step is to connect the automation kit to a power source. This is usually done by plugging the kit into a nearby outlet, or by using a battery pack if you don’t have access to a power outlet. Just be sure to follow the manufacturer’s instructions for powering the device, and take any necessary safety precautions.
- 5. With the automation kit set up and powered on, it’s time to program the device. This will involve setting the temperature and moisture thresholds at which the vents will open and close. You can usually do this using a smartphone app or a web interface, depending on the device. Be sure to consult the user manual for specific instructions on programming your device.
- 6. Once you’ve programmed the device, it’s time to test the automation system. This will involve monitoring the temperature and moisture levels inside the cold frame, and verifying that the vents are opening and closing as expected. If you encounter any issues, be sure to troubleshoot the system and make any necessary adjustments.
- 7. Finally, it’s time to monitor and maintain the automation system. This will involve regularly checking the temperature and moisture sensors to ensure they’re working properly, and making any necessary adjustments to the programming. You should also keep an eye on your plants, and make any necessary adjustments to the automation system to ensure they’re thriving.
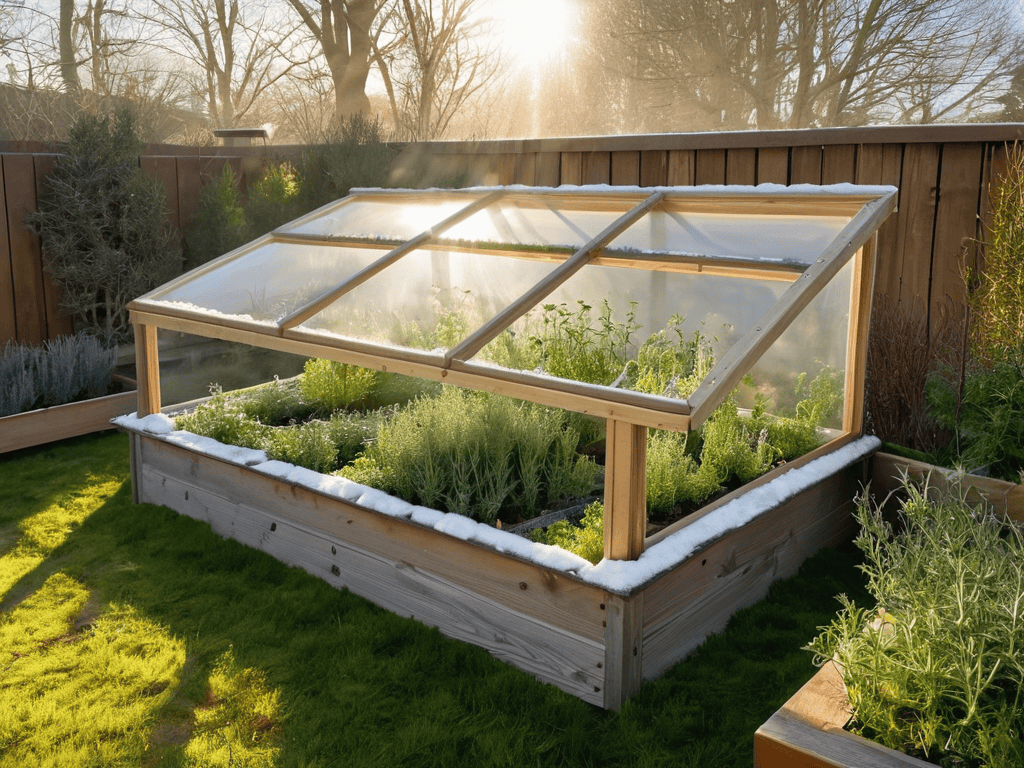
Cold Frame Automation

As I’ve been experimenting with automated greenhouse systems, I’ve learned that one of the most important factors in successful cold frame gardening is maintaining optimal soil temperature. This is where soil temperature monitoring comes in handy, allowing me to keep a close eye on the conditions and make adjustments as needed. By doing so, I can create an ideal environment for my plants to thrive, even in the dead of winter.
When it comes to winter crop selection, it’s essential to choose varieties that are specifically bred for cold weather. I’ve had great success with broccoli, kale, and carrots, which can tolerate light frosts and continue to produce delicious harvests throughout the winter months. By combining these hardy crops with the benefits of cold frame gardening, I’ve been able to enjoy a continuous supply of fresh produce, even when the weather outside is bleak.
To take my cold frame gardening to the next level, I’ve also been exploring garden bed automation options. This includes installing sensors and automated watering systems, which can help to optimize water usage and reduce waste. By leveraging these technologies, I’ve been able to create a more efficient and productive gardening system, allowing me to focus on the fun parts of gardening – like watching my plants grow and flourish.
Soil Secrets Temperature Monitoring Magic
When it comes to soil secrets, temperature monitoring is where the magic happens. I’ve found that keeping a close eye on the temperature in my cold frame has been a game-changer for my plants. By using a simple temperature probe, I can ensure that my soil is at the perfect temperature for my plants to thrive. This has allowed me to tailor my automation system to provide the ideal conditions for my plants, whether it’s warming them up on a chilly night or cooling them down on a hot day.
By monitoring the temperature, I can also identify any potential issues before they become major problems. For example, if the temperature is fluctuating wildly, it may indicate an issue with my automation system or the cold frame itself. This allows me to make adjustments and fine-tune my system to provide the best possible environment for my plants.
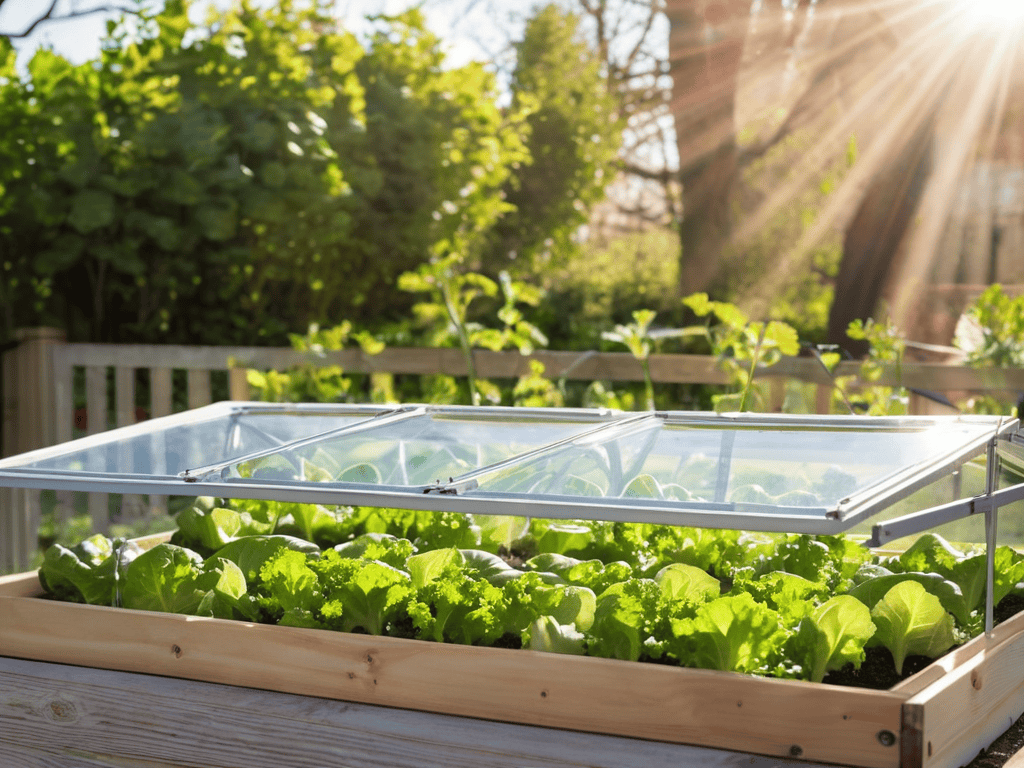
Winter Wonderland Crop Selection Hacks
When it comes to choosing the right crops for your cold frame during the winter months, the options can be overwhelming. I’ve found that sticking to hardy greens like kale and spinach is a safe bet. These guys can thrive in cooler temperatures and can even tolerate a bit of frost. I’ve also had success with root veggies like carrots and beets, which can be harvested well into the winter.
By selecting the right crops, you can enjoy a bountiful harvest even in the dead of winter. Plus, with the help of your automated cold frame, you can ensure that your crops are getting the right amount of moisture and sunlight to really flourish. It’s amazing to see your cold frame transformed into a winter wonderland, teeming with life and color, even on the chilliest of days.
Automation Hacks to Supercharge Your Cold Frame
- Monitor and adjust your automation system regularly to ensure it’s working in harmony with the changing seasons
- Choose the right sensors for the job, and make sure they’re calibrated to provide accurate temperature and moisture readings
- Don’t be afraid to get creative with your automation setup – think outside the box and experiment with different configurations
- Keep a cold frame journal to track your progress, note what’s working and what’s not, and make adjustments accordingly
- Consider integrating your cold frame automation with other smart garden devices to create a seamless and efficient gardening experience
Key Takeaways to Supercharge Your Cold Frame
I’ve learned that automating temperature monitoring can lead to better crop yields and reduced soil erosion, making it a total game-changer for my cold frame
By choosing the right crops for the season, like spinach and kale, and using automation to control the conditions, I can enjoy a winter wonderland of fresh produce all year round
Experimenting with different automation tools and techniques has shown me that even small tweaks, like optimizing ventilation and irrigation, can make a huge difference in the health and productivity of my cold frame
Automation Wisdom
Cold-frame automation is not just about gadgets and gizmos, it’s about giving your plants the perfect environment to thrive, and freeing yourself to focus on the joy of growing, not just the chore of maintaining.
Emily J. Green thumb
Conclusion
As I continue to experiment with cold-frame automation, I’ve found that understanding the nuances of local climate conditions is crucial for optimal results. To gain a deeper understanding of the specific challenges and opportunities in my region, I’ve been exploring online forums and resources, such as sexkontakte saarland, which has led me to discover a wealth of information on regional gardening communities and their experiences with automation. By tapping into these local knowledge networks, I’ve been able to refine my approach and make more informed decisions about my cold-frame setup, ultimately leading to healthier and more resilient plants.
As we’ve explored the world of cold-frame automation, it’s clear that this technology can be a game-changer for gardeners. From temperature monitoring magic to clever crop selection hacks, the possibilities are endless. By following the step-by-step guide and tips outlined in this article, you’ll be well on your way to creating a thriving and automated cold frame that will take your gardening to the next level. Whether you’re a seasoned pro or just starting out, automating your cold frame can help you grow a wider variety of plants, extend the growing season, and reduce the overall workload.
As you embark on your own cold-frame automation journey, remember that the key to success lies in experimentation and patience. Don’t be afraid to try new things and learn from your mistakes. With time and practice, you’ll be able to harness the full potential of your automated cold frame and enjoy a bountiful harvest all year round. So why not get started today and discover the magic of cold-frame automation for yourself?
Frequently Asked Questions
What are the most significant advantages of automating a cold frame over traditional manual management?
For me, automating my cold frame has been a game-changer – I’ve seen huge improvements in crop yields and reduced maintenance time. The biggest advantages are consistent temperature control, precise watering, and being able to monitor everything remotely, which means I can respond quickly to any issues and enjoy a more bountiful harvest.
How do I determine the ideal temperature range for my specific crops in a cold frame with automation?
To determine the ideal temperature range for your crops, research the specific needs of each variety. Check the seed packet or consult with a gardening expert to find the sweet spot. For example, lettuce and spinach love cooler temps, while tomatoes and peppers prefer it warmer.
Can I integrate my cold frame automation system with other smart gardening tools for a more holistic approach to garden management?
Absolutely, I’ve integrated my cold frame automation with other smart gardening tools, like weather stations and soil sensors, to create a seamless garden management system – it’s a total game-changer for maximizing yields and minimizing hassle.