As I sit here, typing away on my vintage typewriter, I am reminded of the countless times I’ve taken for granted the water flowing from my tap. But have you ever stopped to think about how to test your home’s water quality? I recall a particularly unsettling experience at my family’s old cottage, where the water would occasionally run a strange shade of brown. It was then that I realized the importance of regular assessments, and I set out to uncover the truth about what’s really flowing through those pipes. My grandmother, a retired literature professor, would often say that the truth is in the details, and I’ve found that to be especially true when it comes to ensuring the water we drink is safe.
In this article, I promise to guide you through the process of uncovering the secrets of your home’s water quality, without any of the technical jargon that often accompanies such topics. You can expect to find practical advice on how to test your water, what to look for, and how to interpret the results. By the end of this journey, you’ll be equipped with the knowledge to take control of your water quality, and make informed decisions about the water you drink. So, let’s dive in and explore the world of water testing, shall we?
Table of Contents
Guide Overview: What You'll Need
Total Time: 1 hour 30 minutes
Estimated Cost: $20 – $50
Difficulty Level: Easy
Tools Required
- Water test kit (available at hardware stores or online)
- Gallon jug or container (for collecting water samples)
- Pliers or wrench (for accessing water sources)
- Measuring tape (for measuring distances to water sources)
- Pen and paper (for recording test results)
Supplies & Materials
- Water test strips (for pH, alkalinity, and hardness testing)
- Bacteria test kit (for testing presence of bacteria like E. coli)
- Lead test kit (for testing presence of lead in water)
- pH meter or pH paper (for accurate pH measurement)
- Distilled water (for equipment calibration)
Step-by-Step Instructions
- 1. To begin our journey into the world of water quality testing, start by gathering the necessary materials, which typically include a water testing kit, a glass or plastic bottle with a tight-fitting lid, and a pair of gloves to ensure you don’t contaminate the sample. It’s also a good idea to have a notebook and pen handy to record your findings.
- 2. Next, you’ll need to identify the source of the water you want to test, whether it’s from the kitchen faucet, bathroom sink, or an outdoor spigot. This is important because water quality can vary significantly depending on the source and any potential contaminants that may be present in the pipes or surrounding environment.
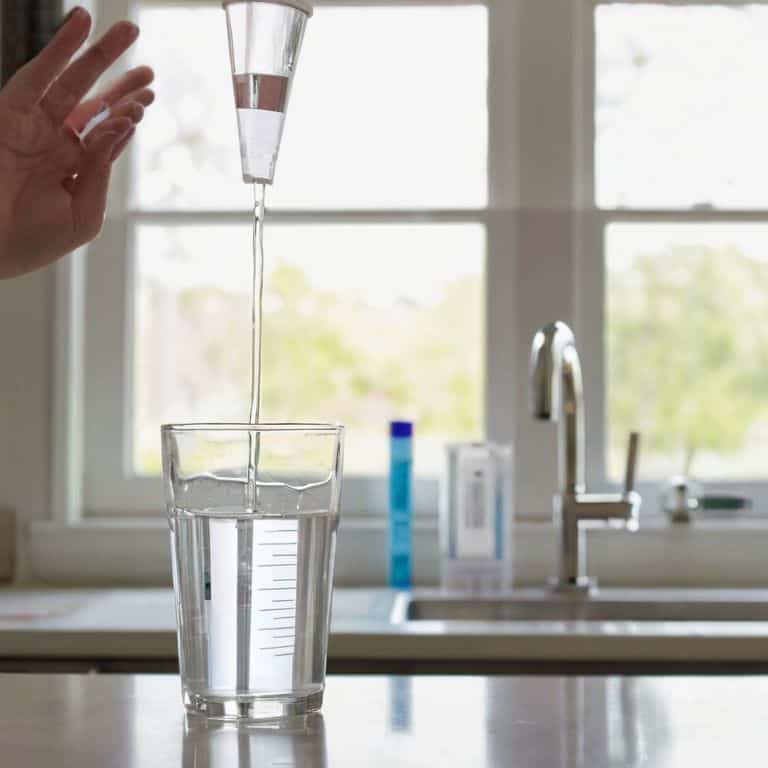
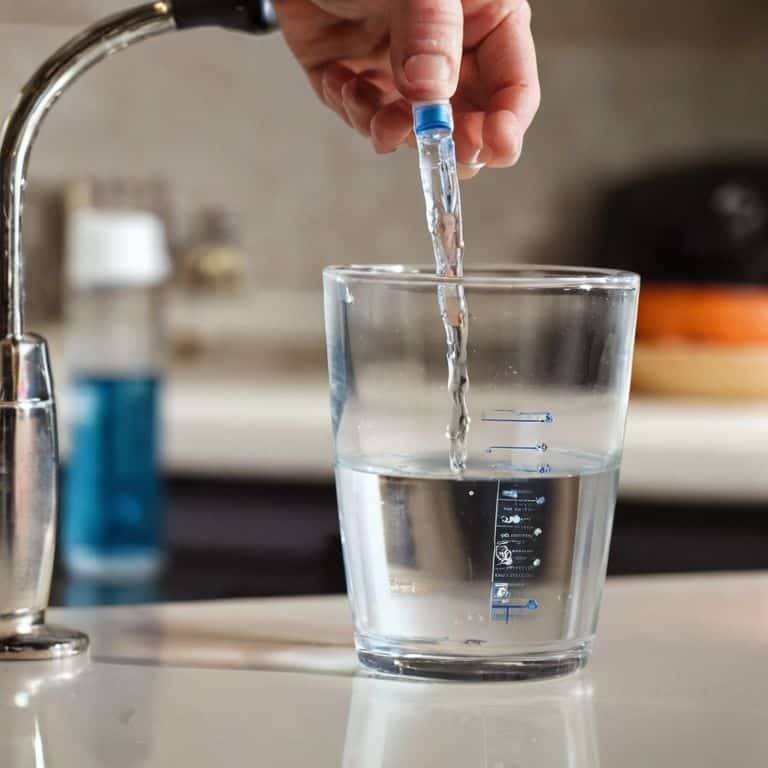
- 3. Now it’s time to collect your water sample, making sure to follow the instructions provided with your testing kit. Typically, this involves filling the bottle with water from the selected source, taking care not to touch the inside of the bottle or lid to prevent cross-contamination. If you’re testing for bacteria or other microorganisms, you may need to use a sterile container.
- 4. With your sample in hand, you can proceed to prepare it for testing, which may involve adding a preservative to prevent bacterial growth or mixing the water with a reagent to facilitate the testing process. Be sure to follow the instructions carefully, as the accuracy of your results will depend on the proper preparation of the sample.
- 5. The next step is to conduct the actual tests, which can range from simple pH measurements to more complex analyses for heavy metals or pesticides. Depending on the type of test, you may need to use a colorimeter or other specialized equipment to obtain accurate results. Take your time and work methodically, as the testing process can be intricate and requires attention to detail.
- 6. Once you’ve completed the tests, it’s time to interpret your results, which can be a daunting task if you’re not familiar with the terminology and units of measurement used in water quality testing. Don’t be afraid to consult the instructions or seek guidance from a professional if you’re unsure about what your results mean or how to address any issues that may have arisen.
- 7. Finally, take action based on your findings, which may involve treatments or filters to remove contaminants or improve the overall quality of your water. This could also include making adjustments to your plumbing or water source, such as installing a new faucet or using a water filtration system, to ensure that your water is safe and healthy to drink.
Unmasking Water Secrets

As I sit here, surrounded by stacks of dusty books and the gentle hum of my vintage typewriter, I am reminded of the importance of understanding water quality reports. It’s a topic that may seem daunting, but trust me, it’s worth delving into. By familiarizing yourself with these reports, you’ll be better equipped to identify common water contaminants and take steps to mitigate their effects.
When it comes to water testing, frequency is key. I’ve found that regular water testing is essential for ensuring the safety and quality of your drinking water. It’s not just about testing once and forgetting about it; rather, it’s an ongoing process that requires attention and dedication. By testing your water at regular intervals, you’ll be able to detect any changes in water quality and take prompt action to address them.
In my research, I’ve come across some fascinating DIY projects, including DIY water filtration systems. These systems can be a cost-effective and efficient way to improve water quality, and they’re often surprisingly easy to implement. Of course, it’s essential to do your research and choose a system that meets your specific needs and water quality standards. By taking a proactive approach to water testing and filtration, you’ll be able to enjoy clean, safe drinking water and peace of mind.
Deciphering Common Water Contaminants
As I delve into the world of water quality, I find myself fascinated by the array of contaminants that can lurk in our taps. From heavy metals like lead and mercury to pesticides and herbicides, the list of potential pollutants is both daunting and intriguing. My trusty vintage typewriter clacks away as I note down the most common culprits: nitrates, bacteria, and viruses. Each one has its own unique characteristics and effects on our health, making it essential to understand their nuances.
By deciphering these common contaminants, we can better navigate the complexities of water quality and make informed decisions about our health. I recall my grandmother, a retired literature professor, once telling me that the truth is often hidden in plain sight – much like the contaminants in our water. With this in mind, I’ll continue to explore and uncover the secrets of our home’s water quality, one typed page at a time.
Navigating Water Quality Reports
As I sit here, typing away on my vintage typewriter, I find myself pondering the intricacies of water quality reports. They can be a daunting read, filled with technical jargon and obscure terminology. But, with a keen eye and a curious mind, one can begin to unravel the mysteries hidden within. I recall a particularly fascinating report I stumbled upon, which revealed high levels of chlorine in the local water supply. It sparked a chain of questions, and I found myself delving deeper into the world of water treatment.
By taking the time to carefully review these reports, we can gain a deeper understanding of our water’s composition and potential contaminants. It’s a fascinating, if somewhat dry, world – but one that holds many secrets waiting to be uncovered.
Diving Deeper: 5 Tips to Demystify Your Home's Water Quality
- Start with the source: Consider the type of water supply you have, whether it’s a municipal system or a private well, as this can significantly impact the quality of your water
- Get familiar with your plumbing: Knowing the age and material of your pipes can help you identify potential sources of contamination, such as lead or corrosion
- Choose the right test: Select a comprehensive water testing kit that covers a range of contaminants, including bacteria, heavy metals, and nitrates
- Don’t forget the fixtures: Test your water from multiple taps and fixtures, as contamination can occur in the pipes or faucets themselves
- Take it to the pros: If you’re unsure about how to interpret your test results or need more advanced testing, consider consulting a certified water treatment specialist or laboratory
Key Takeaways for a Clearer Conscience (and Faucet)
As I clack away on my vintage typewriter, I’m reminded that understanding your home’s water quality is the first step towards a safer, healthier environment – and it all starts with a simple test
Delving into the world of water contaminants and quality reports can seem daunting, but deciphering these mysteries is crucial for unmasking the secrets of your faucet, and I must say, it’s a journey worth taking, much like uncovering the layers of meaning in a rare first edition
Ultimately, the pursuit of clean water is a nuanced one, requiring patience, curiosity, and a willingness to navigate the intricacies of water quality – but with these insights, you’ll be well on your way to unraveling the mysteries of your home’s water, and perhaps, even inspiring a new story or two
A Drop of Wisdom
The pursuit of pure water is not just a scientific endeavor, but a poetic one – for in the clarity of our drinking water, we find a reflection of our own clarity of mind, and the unspoken narratives that flow through the pipes of our homes are as much a part of our stories as the words that flow from our pens.
Oliver Quill
Reflections on the Journey to Pure Water

As I sit here, typing away on my vintage typewriter, I am reminded of the importance of awareness when it comes to our home’s water quality. We’ve navigated the steps to test our water, from understanding the basics to deciphering complex water quality reports. We’ve also delved into the world of common water contaminants, learning how to identify and address potential issues. By taking these steps, we’ve empowered ourselves with the knowledge to make informed decisions about our water, and ultimately, our health. It’s a journey that requires patience and diligence, but one that is well worth the effort.
As we conclude this journey, I want to leave you with a final thought: the pursuit of pure water is not just about testing and reports, but about cultivating a deeper connection with our environment and our own well-being. By embracing this mindset, we can transform our relationship with water from one of passive consumption to one of mindful stewardship, and in doing so, create a healthier, more sustainable future for ourselves and for generations to come.
Frequently Asked Questions
What are the most common contaminants I should be looking out for when testing my home's water quality?
The usual suspects, if you will. Common contaminants to keep an eye out for include lead, chlorine, and nitrates, as well as bacteria like E. coli and Total Coliform. Don’t forget about pesticides and heavy metals like arsenic – all can have a profound impact on your health and wellbeing.
How often should I test my home's water quality to ensure it remains safe to drink?
The frequency of testing depends on various factors, including your water source and local environment. As a general rule, I’d recommend testing your water quality at least twice a year, and more often if you notice any changes in taste, odor, or appearance. Additionally, consider testing after any significant events, like flooding or nearby construction, to ensure your water remains safe to drink.
Are there any DIY methods for testing water quality that are reliable and accurate, or should I always hire a professional?
While DIY kits exist, their accuracy can be hit-or-miss. For reliable results, I’d recommend consulting a professional, but for the curious, a simple pH test or total dissolved solids meter can provide a basic snapshot of your water’s quality.