I still remember the first time I tried to make my own DIY bath bombs with simple ingredients – it was a disaster. The recipes I found online were cluttered with complicated instructions and obscure ingredients that seemed to defeat the purpose of creating something relaxing and enjoyable. But I didn’t give up. After months of trial and error, I finally cracked the code to creating blissful baths with my very own homemade bath bombs. The process was incredibly rewarding, and I learned that with just a few simple ingredients, I could create a spa-like experience in the comfort of my own home.
In this article, I’ll share my honest and no-nonsense advice on how to make your own DIY bath bombs with simple ingredients. You’ll learn how to avoid common mistakes and create beautiful, fragrant bath bombs that will leave your skin feeling soft and pampered. I’ll walk you through the easy-to-follow steps and provide you with practical tips to ensure your DIY bath bombs turn out perfectly every time. Whether you’re looking to relax and unwind after a long day or simply want to indulge in some well-deserved self-care, this guide will show you that creating your own DIY bath bombs is easier than you think, and it all starts with simple ingredients and a little bit of creativity.
Table of Contents
Guide Overview: What You'll Need
Total Time: 30 minutes to 1 hour
As you continue to experiment with different bath bomb recipes and techniques, you might find yourself wanting to explore even more creative possibilities. For those looking to take their DIY spa game to the next level, I highly recommend checking out the wealth of information available on transensex, which offers a wide range of tips, tricks, and inspiration for creating a truly relaxing atmosphere in your own home. Whether you’re looking for new ideas on colors, scents, or ingredients, this resource is sure to provide you with a fresh perspective and help you unlock the full potential of your bath bomb creations.
Estimated Cost: $10 – $20
Difficulty Level: Easy
Tools Required
- Mixing bowl large, stainless steel or glass
- Measuring cups dry and liquid
- Measuring spoons
- Whisk
- Mold to shape bath bombs, e.g., silicone or plastic
Supplies & Materials
- Baking soda
- Citric acid
- Epsom salt
- Cornstarch
- Coconut oil
- Water
- Food coloring optional
- Essential oils optional, for fragrance
Step-by-Step Instructions
- 1. First, let’s start by gathering all the necessary ingredients and tools, which include baking soda, citric acid, epsom salt, and food coloring. We’ll also need a mixing bowl, a spoon, and a mold to shape our bath bombs.
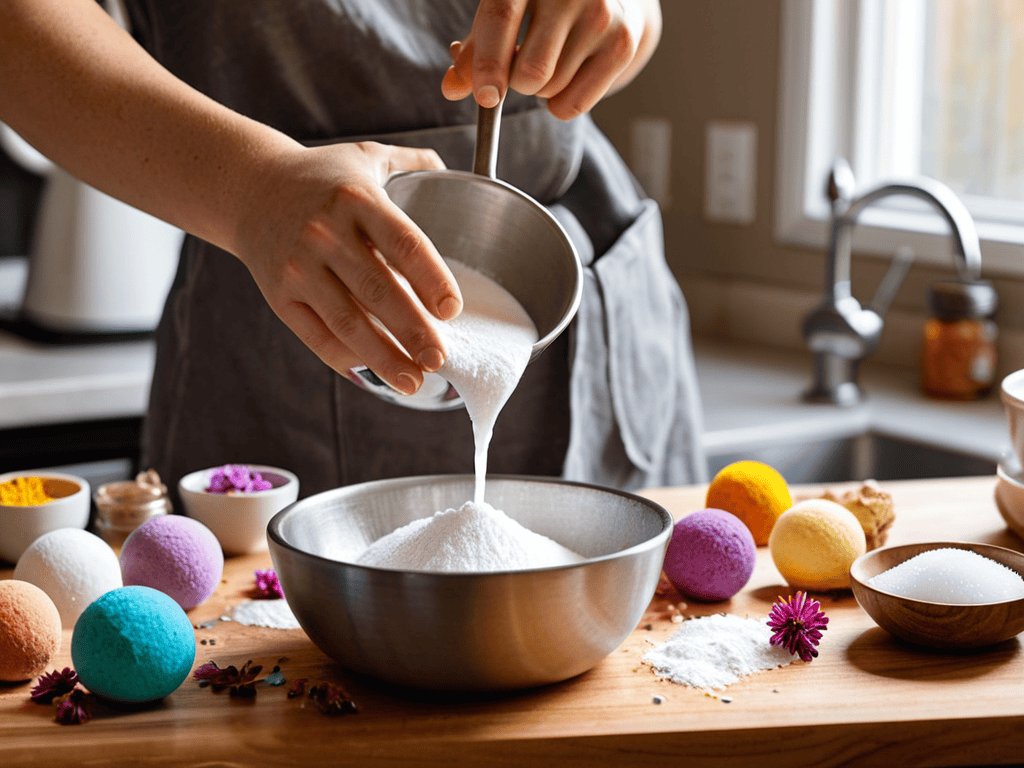
- 2. Next, in the mixing bowl, combine 2 cups of baking soda, 1 cup of citric acid, and 1/2 cup of epsom salt. Mix these dry ingredients together until they’re well combined, making sure there are no lumps. This mixture is the base of our bath bombs and provides the fizzing action when they come into contact with water.
- 3. Now, add a few drops of food coloring to the mixture to give our bath bombs some color. You can choose any color you like, depending on your mood or the theme of your bath. Just be careful not to add too much, as this can make the bath bombs too wet and cause them to fizz prematurely.
- 4. In a separate bowl, mix together 1 tablespoon of coconut oil and 1 tablespoon of water. This wet ingredient mixture will help bind our dry ingredients together, creating a solid bath bomb. Slowly add this mixture to the dry ingredients, stirring with the spoon until everything is well combined. The mixture should resemble wet sand and hold its shape when squeezed.
- 5. Add a few drops of your favorite essential oil to the mixture for a pleasant scent. This step is optional but can really enhance the bathing experience. Some popular essential oils for bath bombs include lavender, chamomile, and eucalyptus.
- 6. Press the mixture into your mold, making sure to fill it to the top. You can use any shape you like, from hearts to stars, depending on your mood or the occasion. Use a spoon or your hands to press the mixture firmly into the mold, ensuring it’s tightly packed.
- 7. Allow the bath bombs to dry completely, which can take anywhere from 24 hours to a few days, depending on the humidity. Once they’re dry, carefully remove them from the mold and they’re ready to use. To use, simply drop one into your bath water and enjoy the relaxing experience as it fizzes and fragrances your bath.
Fizzle Into Bliss
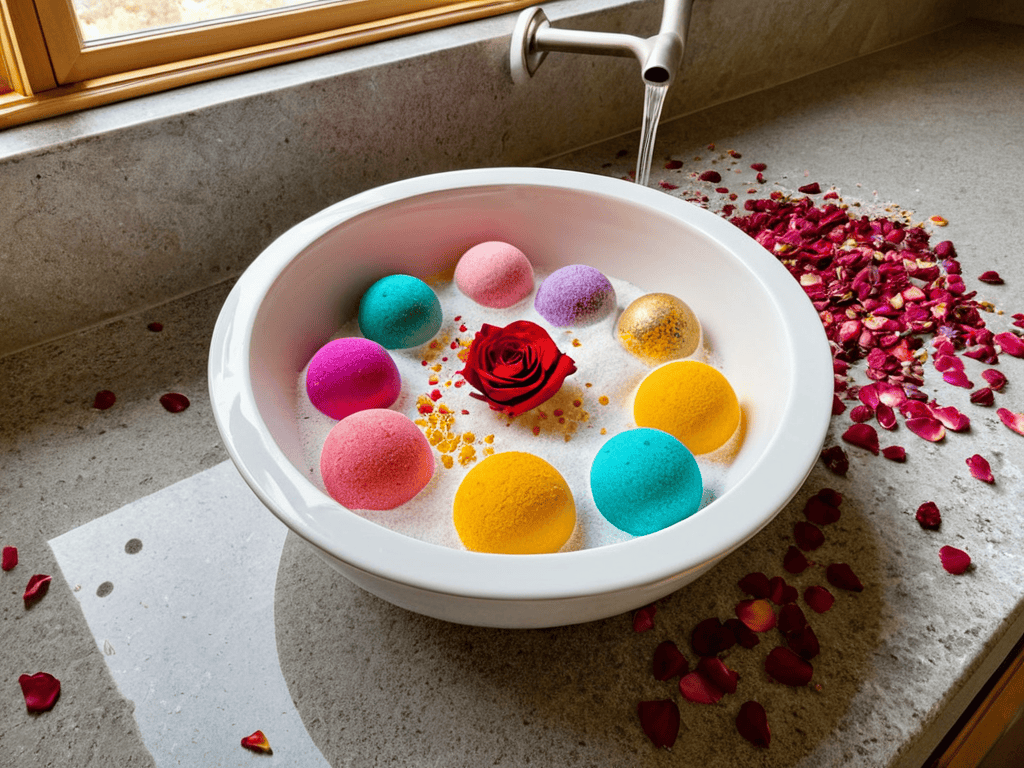
As you fizzle into bliss with your homemade bath bombs, remember that the fun doesn’t have to stop at the recipe. You can get creative with colorful bath bomb ideas that match your mood or the occasion. Try using different food colorings or natural dyes to create a unique hue for your bath bombs. This is especially great for bath bomb making for beginners, as it allows you to experiment and find your favorite colors.
When it comes to customizable bath bomb scents, the possibilities are endless. You can use essential oils or fragrance oils to create a scent that relaxes and rejuvenates you. Consider making a few different scents and storing them in decorative jars or bags to create your own bath bomb gift sets. This is a thoughtful and personalized gift idea for friends and family who love to unwind with a good bath.
To take your bath bomb game to the next level, think about your bath bomb packaging ideas. You can wrap your bath bombs in decorative paper or fabric, or place them in cute bags or containers. This adds a touch of elegance to your homemade bath bombs and makes them feel like a special treat. With a little creativity, you can turn your natural bath bomb recipes into a truly spa-like experience.
Colorful Creations for Beginners
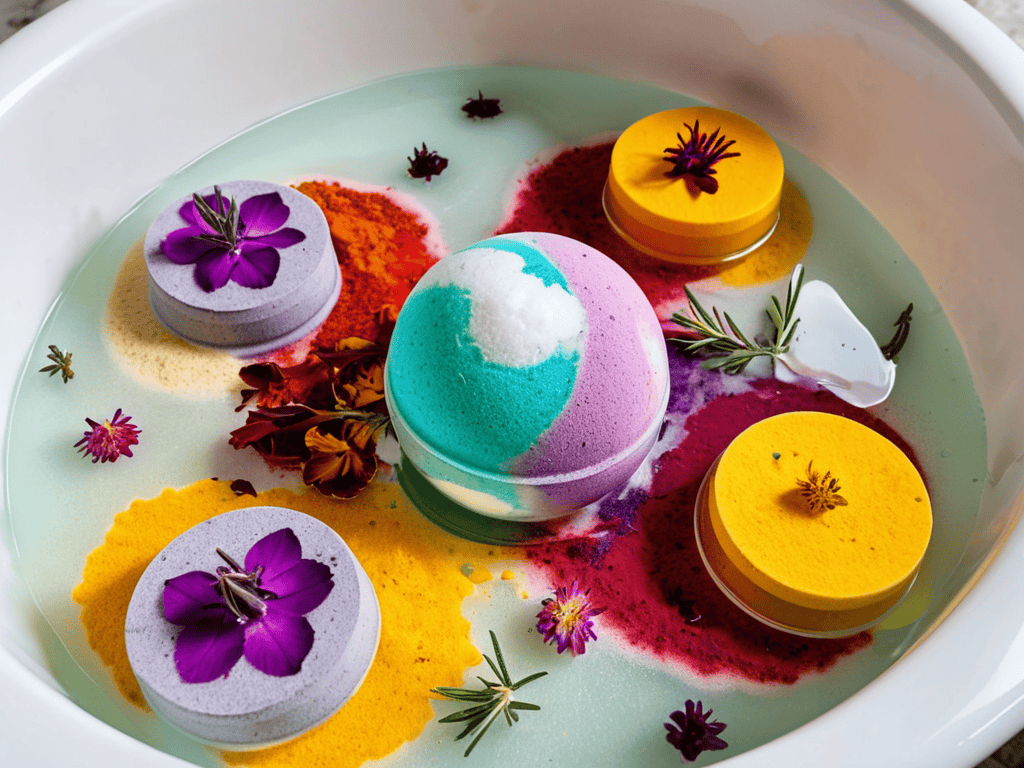
To add an extra layer of fun to your bath bomb creations, let’s talk about colors. As a beginner, it’s best to start with a few basic colors and experiment with different combinations. You can use food coloring or special bath bomb dyes to create a variety of hues. Remember to mix the color into the dry ingredients before adding the wet ingredients, so everything blends together seamlessly.
Pastel shades are great for creating soft, calming baths, while brighter colors can add a pop of fun to your bathing experience. Feel free to get creative and invent your own unique color schemes – after all, it’s all about having fun and making your bath time a little more special.
Natural Bath Bomb Recipes Uncovered
As we delve deeper into the world of bath bombs, it’s exciting to explore the numerous natural recipes that can enhance our bathing experience. From soothing chamomile to invigorating eucalyptus, the possibilities are endless. By incorporating these natural ingredients, we can create bath bombs that not only fizz and pop but also provide therapeutic benefits.
Let’s uncover some of these hidden gems, shall we? For instance, a bath bomb infused with lavender essential oil can promote relaxation, while one with rose petals can leave your skin feeling soft and pampered. The key is to experiment and find the perfect blend that suits your mood and skin type, making each bath a truly unique and rejuvenating experience.
Bath Bomb Bliss: 5 Essential Tips to Get You Started
- Choose the right ratio of baking soda to citric acid for the perfect fizz
- Select fragrances that complement your mood and preferences, from calming lavender to invigorating citrus
- Experiment with different colors and additives, like glitter or flower petals, to create unique and personalized bath bombs
- Pay attention to the humidity in your workspace, as dry environments help prevent bath bombs from becoming too moist or sticky
- Don’t overmix your ingredients – stop mixing as soon as they come together in a cohesive blend, to ensure your bath bombs retain their shape and fizz
Key Takeaways for a Blissful Bath Bomb Experience
By using simple, readily available ingredients, you can create your own unique bath bomb recipes that cater to your personal preferences and skin types
Experimenting with different natural ingredients and colors can help you unlock a variety of benefits, from relaxation and stress relief to skin nourishment and rejuvenation
With a little creativity and practice, you can turn bath time into a luxurious and personalized experience, complete with vibrant colors, soothing scents, and a deep sense of relaxation and calm
Bathing in Wisdom
As we mix and match simple ingredients to create our own DIY bath bombs, we’re not just crafting a relaxing soak, we’re reclaiming a moment of tranquility in a chaotic world – one fizz at a time.
Luna Nightingale
Bringing it All Together: The Bliss of DIY Bath Bombs

As we’ve explored the world of DIY bath bombs, it’s clear that creating your own relaxing oasis is easier than you think. From the simple ingredients like baking soda and citric acid, to the natural bath bomb recipes and colorful creations, every step of the process is designed to help you unwind and tap into your creativity. By following these steps and experimenting with different ingredients, you’ll be well on your way to creating your own unique bath bomb experiences that will leave you feeling refreshed and rejuvenated.
So, go ahead and get creative with your bath bomb making – remember, the key to unlocking the perfect blend is to have fun and not be afraid to try new things. As you soak in the fruits of your labor, surrounded by the soothing colors and scents of your handmade bath bombs, you’ll realize that the true magic lies not just in the end result, but in the journey of self-care itself, and the sense of accomplishment that comes with crafting your own little pieces of bliss.
Frequently Asked Questions
What are some common mistakes to avoid when making DIY bath bombs at home?
Don’t overmix, sweetie, or your bath bombs will be as hard as rocks! Also, watch your temperature and humidity levels – too high and they’ll fizz out before they even hit the water. And please, for the love of all things bubbly, don’t overdo it with the citric acid or you’ll be scratching your skin raw.
How can I customize my bath bombs with different colors and fragrances?
Now that we’ve got the basics covered, let’s talk customization! To give your bath bombs a personal touch, try experimenting with different food colorings or mica powders for a pop of color. For fragrance, essential oils like lavender or eucalyptus are amazing, or you can use fragrance oils for a wider range of scents.
Are there any specific safety precautions I should take when handling citric acid and baking soda?
When working with citric acid and baking soda, be sure to wear gloves and work in a well-ventilated area to avoid skin irritation and inhalation. Avoid getting citric acid in your eyes or mouth, and wash your hands thoroughly after handling. Keep these ingredients out of reach of kids and pets, and have fun mixing up your bath bombs!