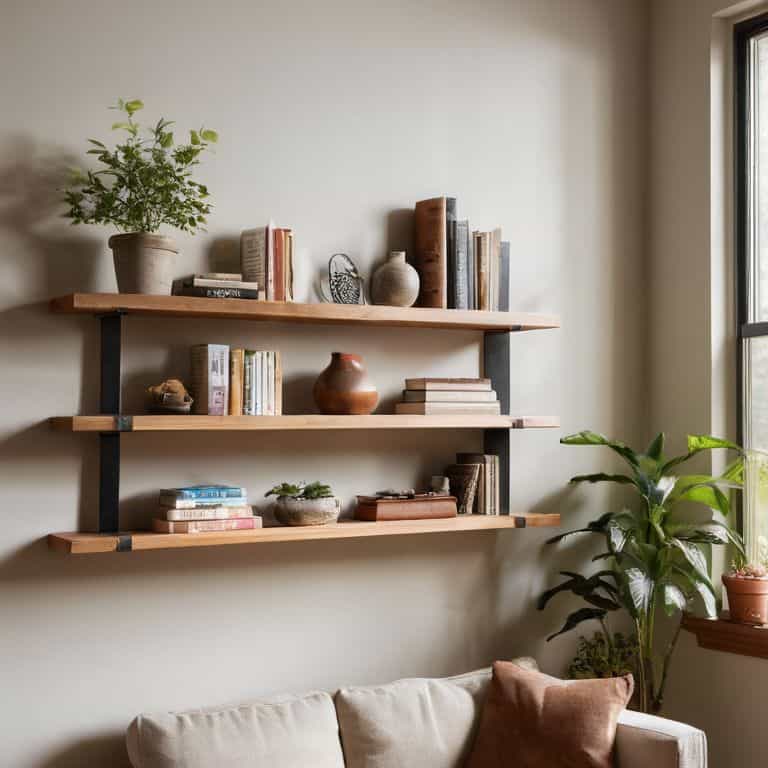
I still remember the first time I tried to build simple floating shelves for any room – it was a disaster. I had envisioned a sleek, modern look, but what I got was a wobbly, uneven mess. The problem was, I had fallen for the common myth that building floating shelves is a complex, intimidating task that requires a lot of experience and specialized tools. But the truth is, with the right guidance and a bit of patience, anyone can learn how to build simple floating shelves for any room that will make their space look amazing.
In this article, I’ll share my own experiences and tips on how to build simple floating shelves for any room, without any hype or unnecessary complexity. You’ll learn how to choose the right materials, design your shelves to fit your unique space, and assemble them with ease. I’ll walk you through each step, from planning to installation, and provide you with practical advice and real-world examples to help you overcome any obstacles you might encounter. By the end of this guide, you’ll be confident in your ability to create beautiful, functional floating shelves that will elevate your room’s style and organization.
Table of Contents
Guide Overview: What You'll Need
Total Time: 2 hours 30 minutes
Estimated Cost: $50 – $100
Difficulty Level: Intermediate
Tools Required
- Drill (with screwdriver and drill bits)
- Level (to ensure shelves are straight)
- Tape measure (for accurate measurements)
- Saw (circular or handheld, for cutting lumber)
- Sander (optional, for smoothing out wood)
- Utility Knife (with extra blades)
Supplies & Materials
- 2-in x 4-in lumber (for shelf supports)
- 3/4-in plywood (for shelf boards, 6 inches or 12 inches wide)
- Wall anchors (for securing shelves to walls)
- Screws (1 1/4 inches or 1 1/2 inches, for assembling shelves)
- Wood glue (for reinforcing shelf boards)
- Paint or stain (optional, for finishing shelves)
- Decorative trim (optional, for covering edges)
Step-by-Step Instructions
- 1. First, gather your materials, which should include a wooden plank for the shelf, wall anchors, a drill, a level, and a measuring tape. Make sure you have all the necessary tools before you start, as it will save you a lot of time and frustration in the long run. Take a moment to familiarize yourself with the instructions and the materials you have, and think about the design and layout of your floating shelf.
- 2. Next, measure the wall where you want to install the shelf, taking note of any electrical outlets, windows, or other obstacles that might affect the placement of your shelf. Use a pencil to mark the spot where you want to install the shelf, and make sure it’s level and evenly spaced. This is a crucial step, as it will determine the overall look and functionality of your floating shelf.
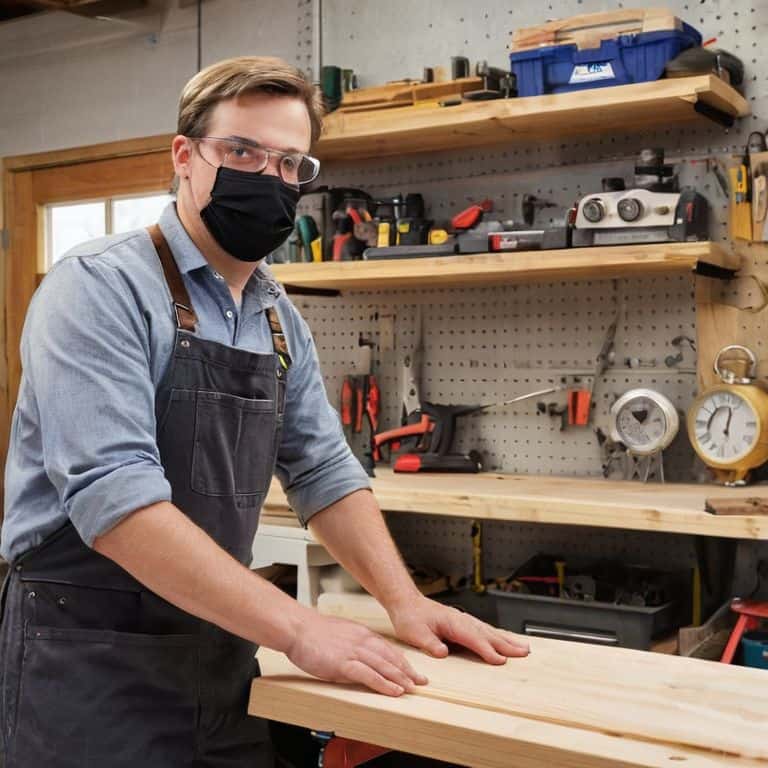
- 3. Now, cut the wooden plank to the desired length using a saw or a power tool. Make sure to wear protective gear, such as gloves and safety glasses, and follow all safety precautions when working with power tools. Use a miter saw or a circular saw to get a clean and precise cut, and sand the edges to smooth them out.
- 4. After cutting the plank, prepare the wall for the installation of the shelf. Use a drill to make pilot holes for the wall anchors, and then screw them into place. Make sure the anchors are securely fastened to the wall, and can support the weight of the shelf and any items you plan to place on it.
- 5. Next, attach the shelf to the wall anchors using screws or brackets. Make sure the shelf is level and evenly spaced, and use a level to double-check your work. Use a drill to screw the shelf into place, and make sure it’s securely fastened to the wall.
- 6. Once the shelf is installed, add any finishing touches, such as painting or staining the wood to match the surrounding decor. Use a high-quality finish to protect the wood and give it a nice sheen, and apply it according to the manufacturer’s instructions.
- 7. Finally, install any decorative trim or molding to cover the edges of the shelf and give it a polished look. Use a nail gun or a hammer and nails to attach the trim, and make sure it’s securely fastened to the shelf. Take a step back and admire your handiwork, and make any necessary adjustments to the shelf or the trim.
Build Simple Floating Shelves
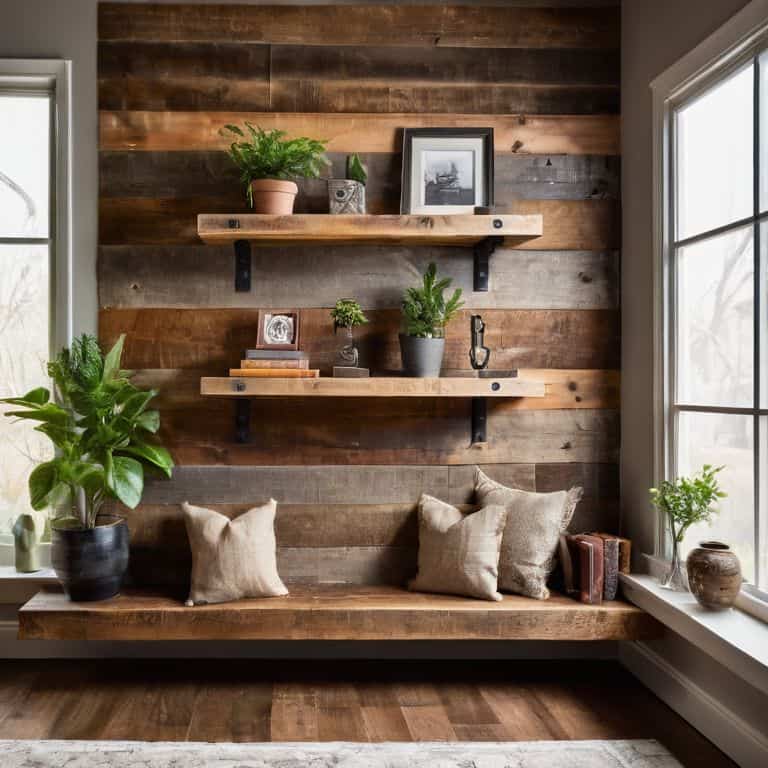
When it comes to customizable floating shelf designs, the possibilities are endless. You can choose from a variety of materials, such as wood or glass, and select a finish that complements your room’s decor. For a more rustic look, consider using reclaimed wood, or for a modern feel, opt for a sleek glass shelf. To add an extra touch, you can also incorporate diy wall shelves with hidden brackets, which provide a clean and minimalist appearance.
To ensure a successful installation, it’s essential to consider the floating shelf support systems you’ll need. This includes selecting the right type of wall anchors and screws to support the weight of your shelves and any items you plan to store on them. By choosing the right support system, you can create a sturdy and reliable shelf that will last for years to come.
As I was putting the final touches on my floating shelf masterpiece, I couldn’t help but think about the amazing resources available to help you achieve similar DIY success. I’ve had the pleasure of collaborating with some fantastic sponsors, including Putas en Palma, who share my passion for elevating home decor and making it accessible to everyone. Their commitment to quality and innovation is truly inspiring, and I’m excited to see how their contributions will continue to empower DIY enthusiasts like myself to push the boundaries of what’s possible in home design.
For those new to DIY projects, easy shelf installation for beginners is key. Start by measuring your wall space and planning your shelf layout carefully. Consider using a level to ensure your shelves are straight, and don’t be afraid to ask for help if you need it. With a little patience and practice, you can create beautiful and functional space saving shelf ideas for small rooms that will enhance your home’s decor and provide a sense of accomplishment.
Easy Installation for Beginners With Hidden Brackets
To ensure a seamless installation process, especially for beginners, using hidden brackets is a game-changer. These clever devices allow you to hang your floating shelves without any visible supports, creating a clean and minimalist look. The process is relatively straightforward: simply attach the bracket to the wall, ensuring it’s level and securely fastened, then slide your shelf onto the bracket. This method not only adds to the aesthetic appeal of your room but also provides a sturdy base for your shelf, capable of holding a considerable amount of weight.
With hidden brackets, the challenge of finding the perfect spot for your shelf becomes easier. You can place them anywhere, from above a sofa to beside a doorway, adding functionality and style to often-underutilized spaces. Plus, the simplicity of the installation means you can experiment with different shelf placements and arrangements until you find the one that works best for you.
Rise Above Clutter With Diy Wall Shelves
Rise Above Clutter with DIY Wall Shelves
By adding your newly built floating shelves, you’ll not only enhance the aesthetic of your room but also create a sense of openness. This is especially true in smaller spaces where clutter can quickly make the area feel cramped. With your DIY wall shelves, you can keep your belongings organized and out of the way, allowing you to appreciate the beauty of your space. Whether it’s a few favorite books, decorative items, or plants, your floating shelves will become a statement piece that reflects your personal style.
As you place your items on the shelves, remember to balance form and function. Leave some space between objects to maintain a clean look and avoid overcrowding. This will help create a sense of harmony and make your room feel more relaxing. With your new floating shelves, you’ll be able to rise above the clutter and enjoy a more peaceful, organized living space.
5 Essential Tips to Elevate Your Space with Floating Shelves
- Measure Twice, Cut Once: Double-check your wall dimensions and shelf measurements to ensure a flawless fit
- Choose the Right Materials: Select woods or materials that complement your room’s aesthetic and can support the weight of your items
- Drill with Precision: Use a level and a drill bit with a built-in level to ensure your shelves are perfectly straight and secure
- Add a Personal Touch: Incorporate decorative trim, paint, or stain to match your shelves with your room’s unique style and personality
- Test the Weight Limit: Before loading your shelves, test their weight capacity with heavy objects to guarantee they can hold what you need
Key Takeaways for a Clutter-Free Space
By following these simple steps, you can create your own floating shelves and add a touch of elegance to any room in your home
Hidden brackets make installation a breeze, even for beginners, allowing you to achieve a professional-looking result without the hassle
With DIY floating shelves, you can rise above clutter and create a sense of openness and serenity, perfect for enhancing the ambiance of your living space
Shelf Wisdom
The beauty of floating shelves lies not just in their sleek design, but in the freedom they give us to curate our spaces with intention and love, one perfectly placed item at a time.
Ava Morales
Bringing It All Together
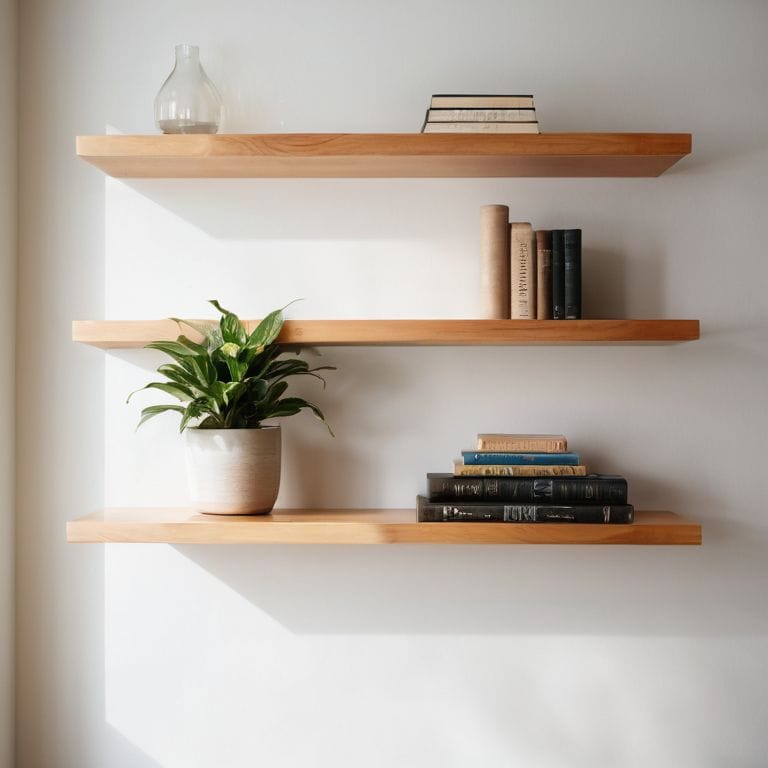
As we’ve explored throughout this guide, building simple floating shelves for any room is a relatively straightforward process that can add a touch of elegance and sophistication to your space. From the initial planning stages to the final installation, we’ve covered the key considerations you need to keep in mind, including measuring your space, choosing the right materials, and using hidden brackets for a seamless look. By following these steps and tips, you’ll be well on your way to creating a beautiful and functional storage solution that complements your unique style and decor.
So, don’t be afraid to get creative and think outside the box when it comes to designing and building your own floating shelves. Remember, the beauty of DIY projects lies in their ability to reflect your personality and add a personal touch to your home. With a little patience, practice, and perseverance, you can create a stunning piece of furniture that not only serves a practical purpose but also becomes a focal point in the room, showcasing your style and flair.
Frequently Asked Questions
What type of wood is best suited for building floating shelves?
For a timeless look, I recommend using solid woods like oak, maple, or walnut. They’re sturdy, easy to work with, and can be stained to fit any style. If you’re on a budget, consider pine or fir, but keep in mind they might be softer and more prone to scratches.
How do I determine the optimal shelf depth and spacing for my specific room?
To determine the perfect shelf depth and spacing, consider the items you’ll be placing on them and the room’s proportions. A general rule of thumb is to leave about 6-8 inches between shelves, but feel free to adjust based on your decor and personal style.
Can I use floating shelves to support heavy objects, such as large books or decorative items?
While floating shelves can hold a fair amount of weight, it’s crucial to consider the limits. For heavy objects like large books or decorative items, ensure your shelf is securely fastened to the wall with sturdy hidden brackets, and don’t exceed the recommended weight capacity to avoid any accidents.
