
As I sat in my backyard, gazing up at the stars, I couldn’t help but think about the cosmic connection between the universe and the technology that allows us to create our own miniature worlds. I’ve always been fascinated by the potential of “a guide to fdm 3d printing” to bring people closer to the stars, or at least, to bring the stars closer to them. My friends often ask me, “Roy, isn’t 3D printing just a fancy way of making plastic trinkets?” And my response is always, “Not when you’re using it to create stunning replicas of celestial bodies or to design innovative solutions that can change people’s lives.”
In this article, I promise to take you on a journey through the universe of possibilities that “a guide to fdm 3d printing” has to offer. You’ll learn the basics of FDM 3D printing, from setting up your printer to designing and printing your own models. I’ll share my personal experiences, tips, and tricks to help you navigate the world of 3D printing and unlock its full potential. Whether you’re a beginner or an experienced maker, this guide will provide you with the honest, no-hype advice you need to start creating your own out-of-this-world projects. So, buckle up and get ready to explore the cosmos of creation with me!
Table of Contents
- Guide Overview: What You'll Need
- Step-by-Step Instructions
- A Guide to Fdm 3d Printing
- Stardust Strategies: 5 Cosmic Tips for Mastering FDM 3D Printing
- Stellar Insights: 3 Key Takeaways from Our Cosmic FDM 3D Printing Journey
- Stardust and Silk: The Cosmic Dance of FDM 3D Printing
- Cosmic Creations and Endless Possibilities
- Frequently Asked Questions
Guide Overview: What You'll Need
Total Time: 5 hours 30 minutes
Estimated Cost: $500 – $1000
Difficulty Level: Intermediate
Tools Required
- Computer with 3D printing software
- 3D Printer FDM type
- Filament various colors and types
- Calipers for measuring prints
- Level to ensure printer is level
- Pliers for removing prints from print bed
- Screwdriver for adjusting printer settings
Supplies & Materials
- 3D Printing Filament PLA or ABS
- Print Bed Adhesive such as boron carbide or glue stick
- Support Material for complex prints
- 6 inches of cable ties for organizing wires
- 1 can of compressed air for cleaning printer
Step-by-Step Instructions
- 1. First, let’s start by preparing our 3D modeling software, where we’ll design our cosmic creations. I like to think of this step as navigating through the constellation of _Andromeda_, mapping out the stars and planets that will soon become our printed reality. We’ll choose a software that fits our needs, whether it’s Tinkercad, Fusion 360, or maybe even Blender, and get familiar with its tools and interfaces.
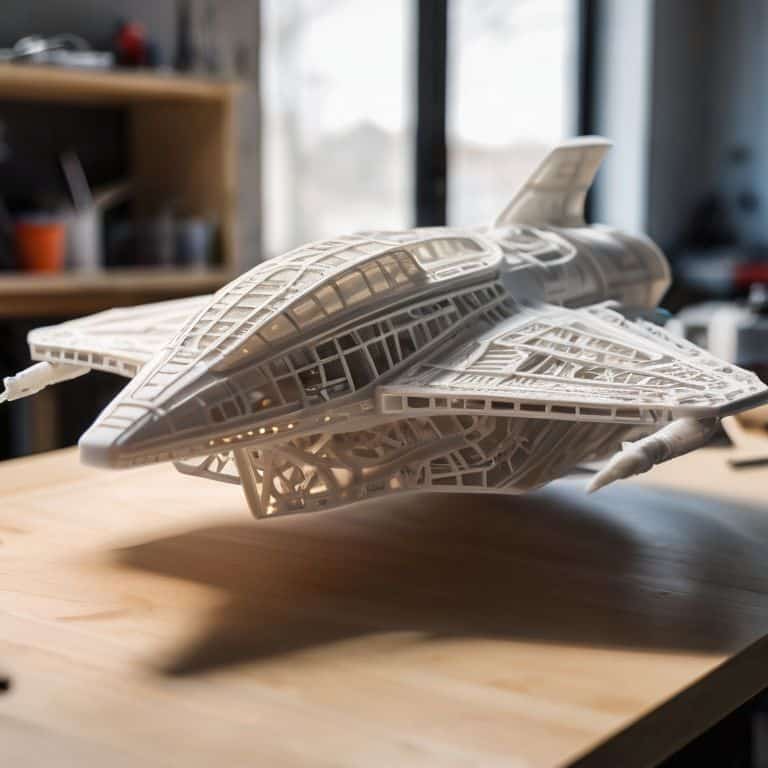
- 2. Next, we’ll design our 3D model, bringing our ideas to life. This is where the magic happens, and our imagination knows no bounds. We can create anything from a scale model of the _Milky Way_ to a futuristic spaceship inspired by our favorite science fiction stories. The key is to keep it simple for our first projects, gradually increasing the complexity as we gain more experience and confidence in our design skills.
- 3. Now that we have our design, it’s time to prepare it for printing. This involves slicing our 3D model into layers that our FDM 3D printer can understand. We’ll use slicing software like Cura or Slic3r to convert our model into G-code, making sure to adjust settings like layer height, infill density, and support material to achieve the best possible print quality.
- 4. With our G-code ready, we’ll configure our 3D printer. This step is crucial, as it determines the overall quality of our print. We’ll make sure our printer is calibrated, the bed is leveled, and the extruder is at the right temperature. For FDM printing, we need to choose the right filament, considering factors like color, material properties, and compatibility with our printer.
- 5. It’s time to start the printing process. We’ll load our filament, upload the G-code to our printer, and watch as our design begins to take shape, layer by layer. This is the most exciting part, seeing our _virtual reality_ become a tangible, physical object. We’ll monitor the print job, ensuring that everything goes smoothly and making adjustments as necessary.
- 6. Once the printing is complete, we’ll remove and clean our model. This involves taking the printed object off the print bed, removing any support material, and giving it a gentle clean to remove any dust or residue. It’s a satisfying moment, holding our finished model in our hands, feeling its texture and weight.
- 7. Finally, we can post-process our model to give it a professional finish. This might involve sanding, painting, or applying a coat of varnish, depending on the desired outcome. For me, this step is like adding the final touches to a _stellar map_, filling in the details that make our creation truly special. With our model now complete, we can display it proudly, a testament to the wonders of FDM 3D printing and the magic that happens when technology meets imagination.
A Guide to Fdm 3d Printing
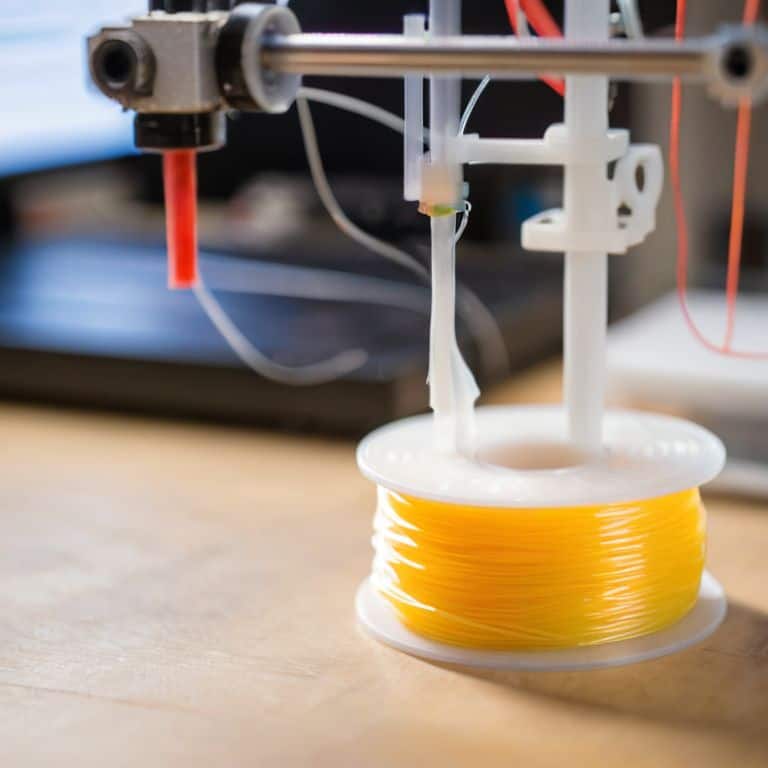
As I delve deeper into the realm of FDM 3D printing, I’m reminded of the importance of choosing the right filament type for your project. This can make all the difference in the quality and durability of your final product. From PLA to ABS, each type of filament has its unique characteristics and advantages. For instance, PLA is a popular choice for beginners due to its ease of use and environmentally friendly nature. On the other hand, ABS is more durable and resistant to impact, making it suitable for projects that require strength and resilience.
When it comes to refining your prints, layer thickness control techniques can be a game-changer. By adjusting the layer thickness, you can achieve a smoother finish or add more detail to your design. This technique requires a good understanding of the printing process and the capabilities of your FDM 3D printer. As someone who’s passionate about exploring virtual reality landscapes, I appreciate the similarities between layer thickness control and navigating through complex digital worlds.
To take your FDM 3D printing skills to the next level, it’s essential to understand calibrating FDM 3D printers. This process involves fine-tuning your printer’s settings to ensure accurate and precise prints. By calibrating your printer, you can reduce errors and improve the overall quality of your prints. Whether you’re a beginner or an experienced maker, calibration is a crucial step in mastering the art of FDM 3D printing.
Calibrating for Cosmic Precision
As I delve into the intricacies of FDM 3D printing, I’m reminded of the delicate dance between celestial bodies – a slight miscalculation can throw off the entire orbit. Similarly, calibrating your 3D printer requires precision and patience. I’ve found that naming my calibration projects after obscure stars, like “Nyx” or “Kitalpha,” helps me stay focused on the task at hand. By fine-tuning the printer’s settings and ensuring proper alignment, you’ll be able to create prints that are out of this world.
To achieve cosmic precision, I recommend starting with small test prints, gradually adjusting settings like temperature and layer height. This process may seem tedious, but trust me, it’s worth it – the end result is a printer that’s finely tuned to produce prints that are as precise as a astronomical calculation. With each successful calibration, you’ll be one step closer to creating your own virtual reality landscapes, and I’ll be right there with you, exploring the endless possibilities of the digital cosmos.
Navigating Fdm 3d Printing Basics
As I delve into the cosmos of FDM 3D printing, I’m reminded of my virtual reality project, “Rigel’s Reach,” where I recreated a stellar nursery. Navigating the basics of FDM is much like exploring a new planetary system – you need to understand the lay of the land. This involves grasping the fundamental principles of how FDM works, from layer adhesion to temperature control. By mastering these basics, you’ll be well on your way to creating complex, otherworldly designs that rival the beauty of the stars.
With a solid foundation in FDM basics, you can start to experiment with different materials and techniques, much like an astronaut discovering new celestial bodies. I’ve found that the key to success lies in patience and practice, as well as a willingness to push the boundaries of what’s possible. Whether you’re a seasoned space traveler or just starting your intergalactic journey, the world of FDM 3D printing is full of endless possibilities waiting to be explored.
Stardust Strategies: 5 Cosmic Tips for Mastering FDM 3D Printing
- Embrace the Void: Understanding the Importance of Negative Space in Your Designs
- Galactic Layering: Optimizing Print Settings for Smooth, Cosmic Transitions
- Aurora Alignment: Ensuring Proper Calibration for Mirrored Prints and Symmetrical Marvels
- Nebula Navigation: Leveraging Support Materials to Create Intricate, Otherworldly Structures
- Black Hole Troubleshooting: Identifying and Resolving Common Issues with FDM 3D Printing, from Warping to Weak Adhesion
Stellar Insights: 3 Key Takeaways from Our Cosmic FDM 3D Printing Journey
Embracing the limitless potential of FDM 3D printing allows you to transform your most imaginative space-inspired designs into tangible, three-dimensional realities, layer by layer, much like the celestial bodies that inspire them
Calibrating your FDM 3D printer with precision is akin to navigating through the vast expanse of the cosmos – it requires patience, the right set of tools, and a deep understanding of the intricate dance between technology and creativity
By mastering the art of FDM 3D printing, you not only bring your innovative ideas to life but also become part of a larger community that pushes the boundaries of human imagination, one printed layer at a time, under the twinkling lights of the digital universe I’ve come to know as ‘Rigel’s Reach’
Stardust and Silk: The Cosmic Dance of FDM 3D Printing
As we weave the tapestry of innovation with FDM 3D printing, remember that every layer is a brushstroke of possibility, every design a celestial map guiding us towards the uncharted territories of human imagination.
Roy Barratt
Cosmic Creations and Endless Possibilities
As we conclude this stellar journey through the realm of FDM 3D printing, let’s reflect on the key milestones we’ve covered. From the basics of navigating FDM 3D printing to the precise art of calibration, each step has been a crucial part of the process. We’ve explored how to bring our most epic space-inspired designs to life, layer by layer, and I’m thrilled to have been your guide through this astronomical adventure. Whether you’re a seasoned pro or just starting out, remember that the world of FDM 3D printing is all about experimentation and pushing the boundaries of what’s possible.
As you embark on your own FDM 3D printing endeavors, remember that the sky is not the limit – it’s just the beginning. With every project, you’re not just creating objects; you’re crafting gateways to new worlds. So, keep exploring, keep innovating, and most importantly, keep looking up at those stars, because the next great idea might just be hiding among the constellations, waiting for you to bring it to life.
Frequently Asked Questions
What are the most common challenges faced when calibrating an FDM 3D printer for precise prints?
Calibrating an FDM 3D printer can be a stellar challenge – I’ve encountered issues like bed leveling woes, temperature fluctuations, and faulty extrusion. These common hurdles can throw off even the most seasoned space traveler, but don’t worry, with some cosmic tweaking, you’ll be printing like a pro in no time, and I’m happy to share my own experiences navigating these astronomical adjustments.
How do I choose the right filament type for my FDM 3D printing project to ensure optimal results?
Choosing the right filament is like selecting the perfect star chart for a celestial adventure – it sets the course for success. Consider the project’s requirements: durability, flexibility, or heat resistance. Popular options include PLA, ABS, and PETG, each with its unique characteristics, like the distinct twinkle of a constellation’s brightest star.
Can I use FDM 3D printing to create complex, hollow, or detailed structures, and if so, what are the best practices for doing so?
Absolutely, you can create complex, hollow, or detailed structures with FDM 3D printing. I’ve named my latest project ‘Rigel’s Reach’ after the bright star, where I pushed the limits of intricate designs. To achieve this, use supports, optimize infill density, and experiment with layer heights – it’s like navigating a stellar map, and I’m excited to share more tips to help you reach for the cosmic possibilities.