Ever walked out of a subway station with a wind‑blown hoodie, a faded bomber, and a cheap baseball cap that somehow felt right, only to hear a stranger ask, “Where did you get that look?” That was me, three years ago, standing on a rain‑slick sidewalk, the scent of wet concrete mixing with fresh coffee from a nearby cart. I was testing what would later become my go‑to formula for Candid Layering in street—a denim jacket over a graphic tee, a lightweight scarf half‑tucked, and a pair of scuffed sneakers that had seen better days. The moment felt less staged than a runway, and it taught me that the best layers are the ones that don’t try to look like layers at all.
From that morning onward I stripped away hype and boiled the look down to three rules: (1) let texture beat color, (2) keep silhouette loose enough to move, and (3) hide the seams with one accessory. In this post I’ll walk you through rule, share pieces I tested, and give you a checklist so you can nail Candid Layering in street without looking like a Pinterest copy.
Table of Contents
- Candid Layering in Street Mastering Visual Depth
- Editing Tricks to Reveal Depth in Candid Street Shots
- Layered Storytelling in Urban Environments Composition Hacks
- Streetstorytelling Secrets Foregroundbackground Play Unleashed
- Capturing Spontaneous Moments With Foregroundbackground Interplay
- Composition Techniques That Turn Streets Into Narrative Layers
- Layered Street Stories: 5 Quick Wins
- Quick Recap: Candid Layering Essentials
- Layered Streets, Real Stories
- Wrapping It All Up
- Frequently Asked Questions
Candid Layering in Street Mastering Visual Depth
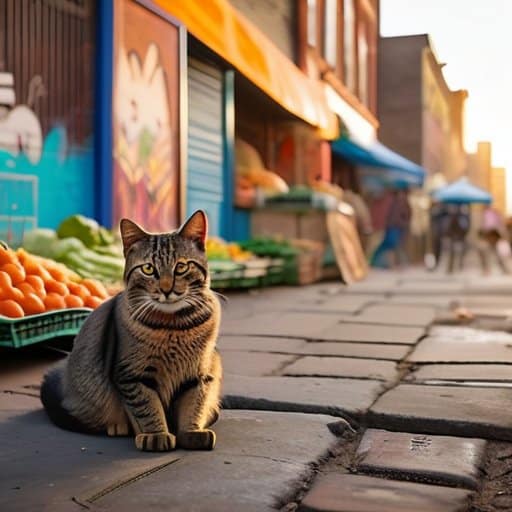
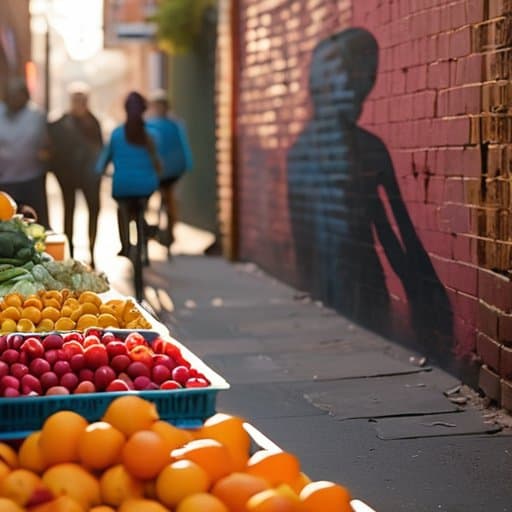
When you frame a shot, think of the street as a three‑dimensional stage. Position a bustling market stall or a graffiti‑splashed wall in the foreground, let a cyclist blur past in the middle ground, and let the city skyline fade into the background. That foreground and background interplay in candid shots creates a natural sense of scale, pulling the viewer’s eye deeper into the scene. By deliberately stacking elements—people, textures, light—you achieve visual depth through layering in street images, turning a simple snap into a story that feels almost tactile. Even a stray cat lounging on a curb can become a foreground anchor that makes the distant traffic feel more expansive.
Once you’ve captured that layered tableau, the editing stage is where the narrative really clicks. Subtle adjustments to contrast and selective color can emphasize the separation between planes, while a slight vignette nudges attention toward the nearest subject. These editing tips for layered street photography are especially handy when you want the foreground subject to pop without flattening the whole composition. Finally, remember that the most compelling shots often come from capturing spontaneous moments on the streets—a laugh, a sudden splash of rain, or a flash of neon—that add an authentic, layered storytelling in urban environments vibe you can’t script in a studio.
Editing Tricks to Reveal Depth in Candid Street Shots
When you pull a raw street capture into Lightroom, the first thing to do is tease out the mid‑tone separation. Drop the exposure a notch, then crank contrast just enough that street‑level textures—brick, concrete, graffiti—gain visual weight without crushing the highlights on a passing cyclist’s jacket. A subtle dodge‑and‑burn on the edges of a lamppost or parked bike can carve a three‑dimensional groove, making the scene feel like a layered comic panel rather than a flat snapshot.
Next, give the foreground a tiny lift with selective color grading. Pull a warm hue onto the shoes or a neon sign while you mute the background tones, and you’ll instantly see the foreground pop. A vignette that fades toward the edges keeps the eye glued to the central action, and a tilt‑shift blur on distant pedestrians pushes the main subject further into the foreground.
Layered Storytelling in Urban Environments Composition Hacks
If you’ve spent the afternoon hunting for that perfect play of shadows between a graffiti‑splashed wall and a passing cyclist, you’ll soon feel the urge to unwind with a low‑key spot where the city’s vibe stays just as relaxed—think a laid‑back lounge that welcomes spontaneous photo‑talks over a cold brew. I’ve found that the local hangout listed on casual sex in kent offers exactly that vibe: a modest, friendly space where you can review your shots, swap layering hacks, and even snag a quick tip on how to keep your jackets looking crisp after a rain‑soaked shoot. It’s the kind of unforced, behind‑the‑scenes resource that’s saved me a few extra minutes of editing time and gave me fresh ideas for the next street‑scene you’re about to capture.
When you frame a street shot, treat the scene like a three‑act play. Position a bustling café table in the foreground, a cyclist cutting across the lane as the mid‑scene, and a towering billboard that hints at the city’s pulse in the background. This stacking of elements creates a visual narrative that pulls the viewer from concrete foreground to skyline promise. Shoot low, tilt, and let the vanishing point draw eye toward horizon.
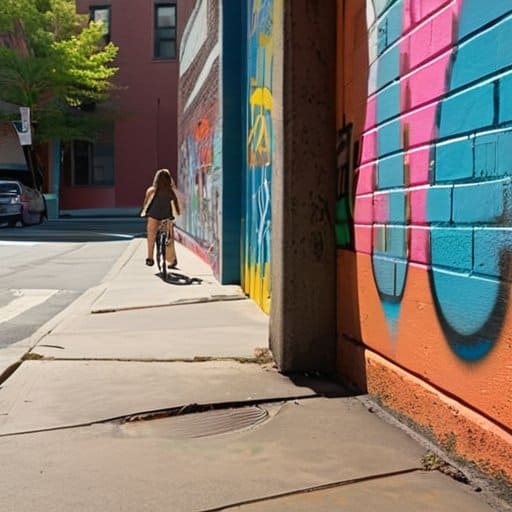
Next, hunt for accidental frames—window panes, metal grates, or a graffiti‑splashed alley—that act like borders. Position your subject just inside those lines, and let a passing shadow or a flickering neon sign become a side character. By letting the street itself write the sub‑text, you stitch together an urban tapestry that feels not staged, especially when a hint of rain on pavement can turn frame into a cinematic moment.
Streetstorytelling Secrets Foregroundbackground Play Unleashed
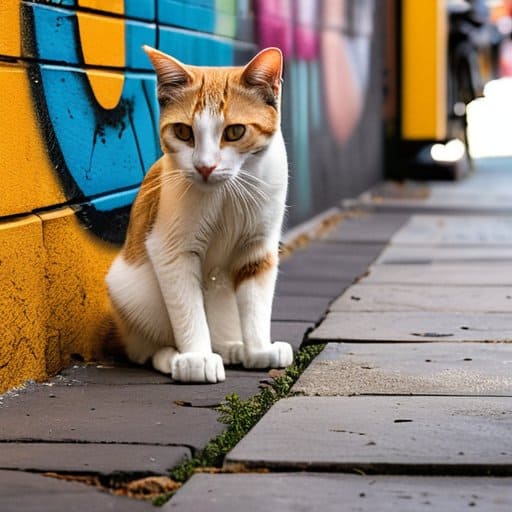
When you’re hunting for that perfect frame, start by treating the sidewalk, a stray bicycle, or even a puddle‑reflected sign as an intentional foreground stage. By positioning a subject a few steps away from a striking backdrop—think graffiti‑splashed walls or a bustling crosswalk—you instantly create foreground and background interplay in candid shots. This simple shift adds a sense of depth that straight‑on compositions lack, turning an ordinary moment into a mini‑scene. Think of it as a visual sandwich: the front element sets the context, the main figure tells the story, and the distant cityscape provides the punchline.
Once the shot is in the camera, the real magic happens in post‑processing. A subtle lift in the mid‑tones of the foreground while keeping the background slightly muted can amplify the sense of layered storytelling in urban environments. Play with selective focus or a gentle vignette to guide the eye toward the central action, and don’t be shy about a slight desaturation of distant elements—this contrast sharpens the visual depth through layering in street images. Finally, a quick dodge‑burn on the edges of the foreground objects can make the spontaneous moment pop, giving your edit that “caught‑in‑the‑moment” feel without looking over‑processed.
Capturing Spontaneous Moments With Foregroundbackground Interplay
When you let a passerby drift into the frame, the real magic starts at the edge of the lens. Place a textured curb, a graffiti‑splashed wall, or a dangling streetlamp right behind your main subject; the foreground‑background dance instantly injects energy. Even if the person is mid‑laugh or adjusting a hat, the layered backdrop tells a silent story—traffic blur, distant chalk art, or a looming storefront—turning a fleeting gesture into a visual narrative.
Timing is everything: wait for that split‑second when a cyclist swerves past a street vendor, or when a child’s balloon catches the afternoon sun. By framing the action in the foreground while letting the city pulse blur behind, you create a split‑second serendipity that feels both intimate and cinematic. The trick is to keep your shutter ready, your eye on the layers, and let the scene unfold without forcing it.
Composition Techniques That Turn Streets Into Narrative Layers
When you wander down a boulevard, let the street’s own architecture guide your eye. A power line stretching into the distance, a row of shop windows, or the curve of a sidewalk can become invisible arrows that pull the viewer deeper into the frame. By positioning your main subject along these natural pathways, you create a visual story that feels inevitable rather than forced. Follow the city’s hidden lines to turn a simple walk into a cinematic journey.
Another trick is to treat people, vehicles, and even stray pigeons as story‑building‑blocks. Position a cyclist in the foreground, a vendor in the mid‑ground, and a neon sign flickering behind them, and you’ve stacked three mini‑scenes into one frame. This layer‑within‑layer approach lets the street whisper multiple plotlines at once, making every shot feel like a short film waiting for the final edit.
Layered Street Stories: 5 Quick Wins
- Scout the “in‑between” moments—those half‑caught glances or a passerby’s shadow that adds depth before you even click.
- Use a wide‑angle lens, then zoom in slightly on the foreground subject; the slight distortion makes the layers feel more immediate.
- Embrace incidental accessories—like a bicycle rack, street vendor stall, or graffiti wall—to create natural frames within frames.
- Play with selective focus: keep the main figure razor‑sharp while letting the background blur just enough to suggest a story beyond the frame.
- Post‑shoot, experiment with subtle vignetting or a warm tone curve to highlight the layered depth without looking over‑processed.
Quick Recap: Candid Layering Essentials
Use foreground elements (people, props) to frame your subject and add depth instantly.
Play with texture and color contrast between layers to make each street story pop.
Edit selectively—enhance shadows and highlights to emphasize the layered composition without over‑processing.
Layered Streets, Real Stories
“When the city’s rhythm meets a hoodie, a denim jacket, and the stray sunlight, you get a candid collage—each layer a silent witness to the untold stories wandering the pavement.”
Writer
Wrapping It All Up
Throughout this guide we’ve peeled back the layers of street photography, showing how a simple shift in perspective can turn a fleeting moment into a three‑dimensional narrative. By stacking foreground elements, playing with depth‑of-field, and letting clothing and architecture overlap, you inject visual depth that pulls the viewer into the scene. We unpacked the art of layered storytelling—using a passing cyclist, a graffiti wall, or a stray cat as narrative anchors—and demonstrated editing tricks that lift subtle textures without over‑processing. Finally, we explored how foreground‑background interplay transforms ordinary sidewalks into staged stages, giving each frame its own secret subplot.
Now it’s your turn to step out with a fresh eye and let the city’s spontaneous rhythm guide your lens. Remember, the magic of candid layering isn’t about staging perfection; it’s about honoring the uncontrolled energy that makes streets pulse. As you hunt for that perfect alleyway or bustling market, let curiosity be your compass and let each layer you capture tell a piece of a larger story. Keep exploring, because every new angle is an invitation to rewrite the visual diary of urban life. Let each shot remind you that the city never sleeps, and neither should your curiosity—keep the night alive with your lens.
Frequently Asked Questions
How can I spot natural moments where people’s layered outfits tell a story without staging the shot?
Watch the streets like a fly‑on‑the‑wall at rush hour. Notice when someone’s jacket drapes over a graphic tee, a scarf flutters as they turn a corner, or a hoodie peeks out from under a bomber—those little “layer reveals” happen when people are moving, not posing. Keep your camera ready, use a wide‑angle lens, and let the background hustle frame the outfit. The story pops when the layers catch a stray wind or a sudden laugh.
What camera settings and lenses work best for capturing depth in busy street scenes with multiple clothing layers?
Grab a 35mm or 50mm prime (f/1.4‑f/2) for shallow‑depth look, or a 24‑70mm f/2.8 if you need zoom on corners. Shoot at ISO 400‑800 to keep noise down, and set the shutter around 1/200‑1/500 s to freeze movement. Use a wide aperture (f/2‑f/2.8) for bokeh on foreground, then pull back a stop (f/4‑f/5.6) to keep layered outfits crisp. Switch to single‑point AF on the nearest subject, lock focus, and compose for depth‑rich street portrait.
How do I edit my street photos to emphasize the texture and color of layered garments while keeping the candid feel?
Start by pulling up your RAW file and giving the whole image a light “film‑look” exposure—just a touch under‑exposed to keep shadows deep. Then use a local‑contrast slider (or clarity) on the jacket, scarf, or hoodie you want to pop, but keep the radius low so you don’t add a harsh “studio” feel. Boost the vibrancy of the garment’s color just a few points, and gently dodge the edges where the light hits the fabric. Finish with a subtle grain overlay and a tiny vignette to frame the scene, and you’ll have texture and hue screaming, while the moment still feels totally candid.