
I still remember the first time I tried building a simple workbench in my garage. I was excited to start my DIY journey, but what I thought would be a straightforward project turned out to be a frustrating mess. The instructions I found online were overly complicated, and the materials list was longer than a shopping receipt. It was then that I realized the myth that you need a fancy workshop to build a workbench is simply not true. In fact, with a few basic tools and some easy-to-find materials, you can create a sturdy and functional workbench that will make your DIY projects a whole lot easier.
In this article, I’ll share my no-nonsense approach to building a simple workbench. I’ll walk you through the entire process, from planning and designing to building and finishing. You’ll learn how to choose the right materials, assemble the frame, and add a durable top that will withstand even the toughest projects. My goal is to provide you with honest and practical advice that will help you avoid common mistakes and get the job done quickly and efficiently. By the end of this guide, you’ll have a beautiful and functional workbench that will become the centerpiece of your DIY workshop.
Table of Contents
Project Overview
Total Time: 4 hours 30 minutes
Estimated Cost: $100 – $200
Difficulty Level: Intermediate
Tools Required
- Circular Saw ((for cutting lumber))
- Drill Press ((for precise drilling))
- Hand Saw ((or a jigsaw for curved cuts))
- Sander ((for smoothing out wood surfaces))
- Tape Measure ((for accurate measurements))
- Square ((for ensuring corners are square))
- Clamps ((for holding pieces together during assembly))
- Socket Wrench ((for tightening bolts))
Supplies & Materials
- 2-in x 4-in lumber ((for the frame))
- 3/4-in plywood ((for the top surface))
- Wood Glue ((for bonding wood pieces))
- 2 1/4-in wood screws ((for assembling the frame))
- Wood filler ((for filling gaps and holes))
- Sandpaper ((for smoothing out the wood surface))
- Paint or stain ((for finishing the workbench))
- Polyurethane ((for protecting the finish))
Step-by-Step Instructions
- 1. First, gather your materials, including 2×4 lumber for the frame, 3/4 inch plywood for the top, and screws for assembly. Make sure you have a clear workspace to work on, and all your tools are within reach. It’s also a good idea to double-check your measurements to ensure everything fits together perfectly.
- 2. Next, cut the 2×4 lumber into the required pieces for the frame, using a circular saw or a hand saw. You’ll need four legs, two side frames, and two end frames. Cut the pieces slightly longer than needed, to allow for sanding and finishing later on. Use a miter saw or a hand saw to make precise cuts.
- 3. Assemble the frame by screwing the legs to the side frames, using galvanized screws. Make sure the corners are square and secure, and the frame is level. Use clamps to hold the pieces together while you screw them in place. This will ensure a sturdy and stable workbench.
- 4. Cut the 3/4 inch plywood to the required size for the top, using a jigsaw or a circular saw. Sand the cut edges to smooth them out, and apply a wood finish to protect the surface. You can also add a vice or a clamp to the top, to make it more functional.
- 5. Attach the plywood top to the frame, using wood screws. Make sure the top is level and secure, and the screws are spaced evenly apart. Use a drill press to make precise holes for the screws. This will ensure a solid and durable workbench.
- 6. Add any additional features you want, such as drawers or shelves, to store your tools and materials. You can also add a power strip or a lighting system, to make your workbench more functional. Use a level and a stud finder to ensure the features are installed correctly.
- 7. Finally, apply a finish to the entire workbench, to protect it from scratches and spills. You can use a polyurethane coat or a wax finish, depending on the type of wood you’re using. Apply the finish according to the manufacturer’s instructions, and let it dry completely before using your new workbench.
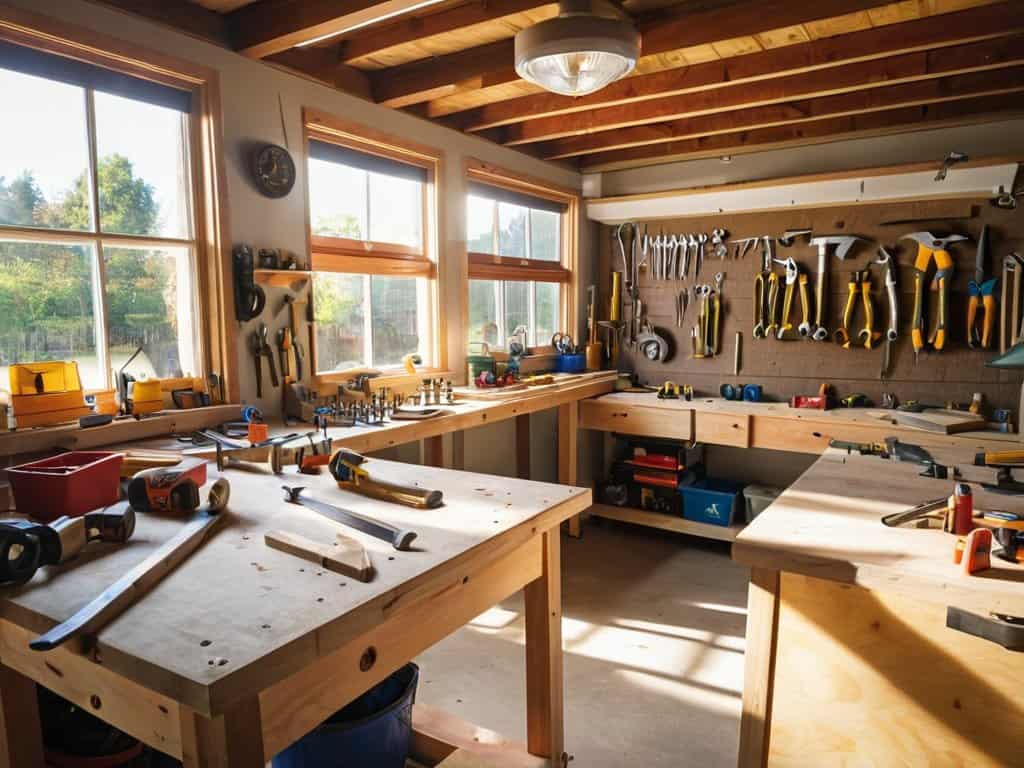
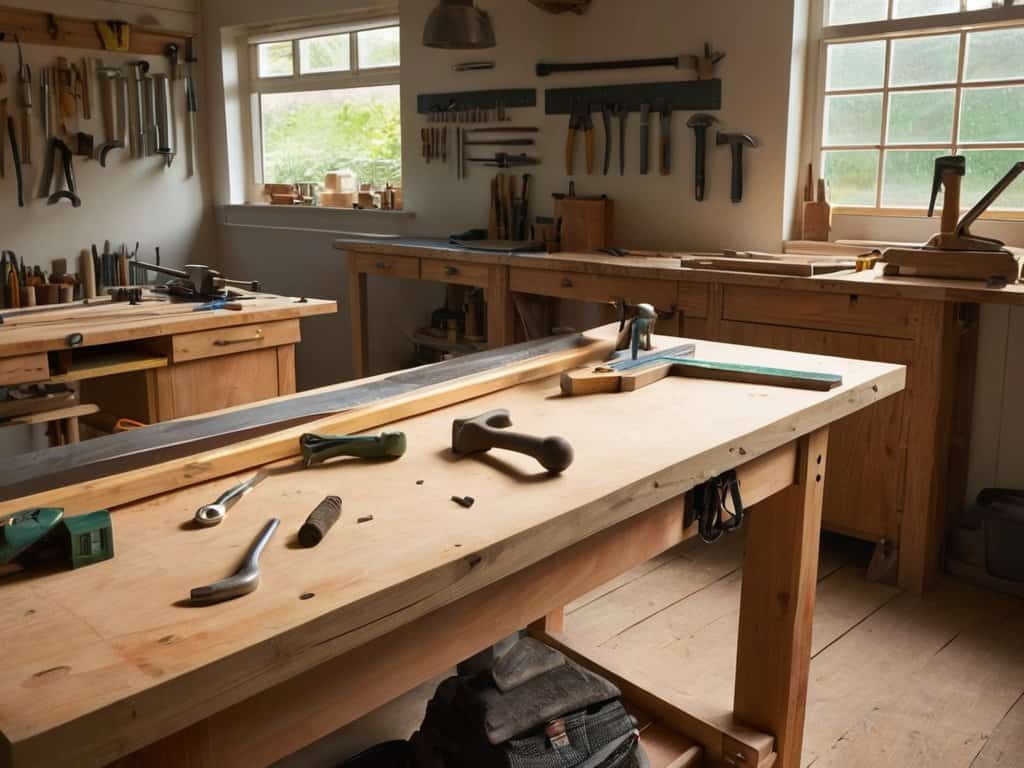
Building a Simple Workbench
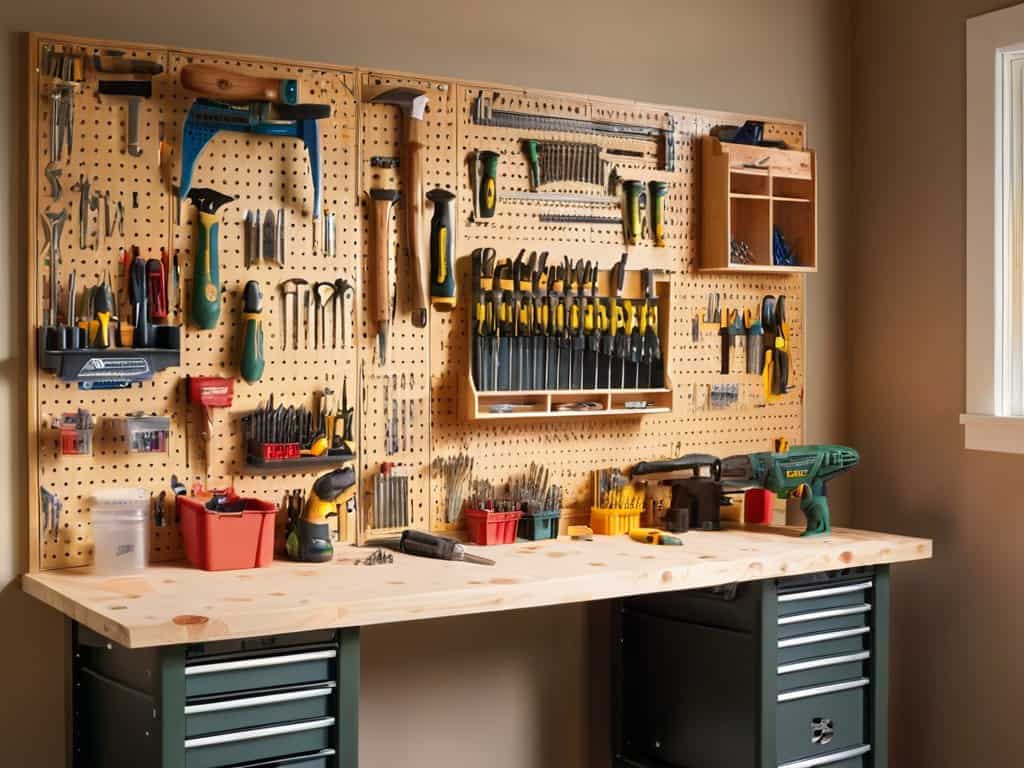
When it comes to custom workbench storage solutions, it’s all about maximizing your space while keeping your tools within easy reach. Consider adding a pegboard or a shelf to store your frequently used items, such as hammers, screwdrivers, and pliers. This will not only keep your work surface clear but also make your workflow more efficient. Additionally, think about incorporating diy workbench plans that include built-in storage, such as drawers or cabinets, to keep your smaller items organized.
As you’re working on your project, remember to prioritize workbench safety features. A sturdy and stable workbench is essential to prevent accidents and injuries. Make sure your workbench is securely anchored to the floor or wall to prevent it from tipping over. You should also consider adding a vice or a clamp to hold your workpieces in place, reducing the risk of injury from sharp edges or flying debris.
To take your workbench to the next level, explore different workbench design ideas that fit your specific needs and style. Whether you’re a woodworker, a metalworker, or a DIY enthusiast, there are countless design options available to suit your craft. From modern and sleek to traditional and rustic, the possibilities are endless. By incorporating your personal touch and preferences, you’ll create a workbench that not only meets your functional needs but also reflects your unique personality and work style.
Custom Storage Safety Features
When it comes to custom storage, safety features are often overlooked but equally important. Consider adding locks to your storage compartments to prevent accidents and unauthorized access. You can also install soft-close drawers and doors to prevent slamming and pinching. Additionally, labeling each storage unit can help you quickly identify what’s inside, reducing the risk of mishandling hazardous materials.
By incorporating these safety features, you’ll not only protect yourself and others but also create a more efficient workspace. A well-organized workbench with secure storage can help you stay focused on your projects, reducing stress and increasing productivity.
Diy Workbench Plans on Budget
When it comes to DIY workbench plans on a budget, simplicity is key. You don’t need to break the bank to create a functional workspace. Consider repurposing old materials like pallets or reclaimed wood to save on costs. A basic design with a sturdy frame and a durable top is all you need to get started.
You can find plenty of free or low-cost plans online that cater to different skill levels and budgets. Look for designs that use minimal materials and tools, and don’t be afraid to get creative with your build. With a little patience and elbow grease, you can have a reliable workbench up and running in no time, all without blowing your budget.
Hammering Out the Essentials: 5 Key Tips for a Rock-Solid Workbench
- Measure Twice, Cut Once: Double-Check Your Workbench Plans to Avoid Costly Mistakes
- Choose the Right Wood for the Job: Selecting Lumber That’s Both Durable and Budget-Friendly
- Add Some Extra Support: Incorporating Aprons and Stretchers for a Sturdy Work Surface
- Get a Grip on Ergonomics: Designing Your Workbench for Comfort and Efficiency
- Light It Up: Installing Proper Lighting to Reduce Eye Strain and Increase Productivity
Key Takeaways for Your Dream Workbench
By following these simple steps, you can create a functional and efficient workbench that meets your specific needs and enhances your DIY experience
A well-planned workbench with custom storage and safety features can significantly improve your productivity and reduce the risk of accidents in your home workshop
With a little creativity and some basic DIY skills, you can build a high-quality workbench on a budget, perfect for tackling a wide range of projects and becoming a more confident and self-sufficient maker
The Heart of DIY
Building a simple workbench is not just about hammering nails into wood, it’s about crafting a space where creativity meets practicality, where every project tells a story of its own.
The Rebel Carpenter
Conclusion
As you’re working on your DIY workbench project, it’s essential to have a solid understanding of the materials and tools you’re using, and sometimes that means exploring beyond your workshop. If you’re looking for a community that shares your passion for woodworking and DIY projects, I’ve found that online forums can be a great resource. For instance, you can find some great tips and advice on websites like Sexchatt, which may seem unrelated at first, but their community section has some unexpectedly useful threads on woodworking and DIY projects. By exploring these types of resources, you can gain a deeper understanding of the intricacies of woodworking and pick up some valuable tips and tricks to help you complete your project.
In conclusion, building a simple workbench is a straightforward process that can be completed with basic tools and materials. We’ve covered the main steps, from planning to assembly, and explored ways to customize your workbench on a budget, including DIY workbench plans and custom storage safety features. By following these guidelines, you can create a functional and efficient workspace that meets your specific needs.
As you finish your workbench and start using it for your projects, remember that the true value of DIY lies in the process, not just the end result. Building something with your own hands can be a transformative experience, and it’s an opportunity to develop new skills and challenge yourself to think creatively. So, don’t be afraid to experiment, try new things, and push the boundaries of what’s possible – and most importantly, have fun and enjoy the journey.
Frequently Asked Questions
What are the essential tools I need to have in my workshop to build a simple workbench?
Alright, let’s get down to business! To build a simple workbench, you’ll need some basic tools like a circular saw, drill press, tape measure, level, and a trusty hammer. Don’t forget a square, clamps, and a pencil to mark your cuts. These essentials will get you started on building a solid workbench that’ll be the backbone of your workshop.
How can I ensure my DIY workbench is level and stable?
To ensure your DIY workbench is level and stable, check it with a spirit level and adjust the legs as needed. You can also add anti-slip feet or casters with brakes to prevent movement and keep it rock-solid.
What are some creative ways to add custom storage to my simple workbench without breaking the bank?
Add some personality to your workbench with affordable storage solutions like repurposed crates, magnetic strips for tools, and a pegboard for hanging essentials – it’s all about maximizing space without maxing out your wallet.