I still remember the day I decided to take the plunge and build my own DIY Murphy Bed. It was a moment of desperation, to be honest – my small apartment was feeling claustrophobic, and I needed a solution that would give me back some much-needed space. I had heard all sorts of horror stories about how complicated and expensive it was to install a Murphy bed, but I was determined to prove them wrong. And you know what? It wasn’t as hard as everyone made it out to be. In fact, it’s been a total game-changer for my little apartment.
So, if you’re like I was – tired of feeling like your bedroom is shrinking by the day – then this article is for you. You’ll get honest, no-nonsense advice on how to build a DIY Murphy Bed that actually works, without breaking the bank or losing your mind in the process. I’ll walk you through the entire process, from planning to installation, and share some hard-won tips and tricks that will make the whole experience a whole lot easier. By the end of this article, you’ll be equipped with everything you need to create your own space-saving sleeper – and start enjoying the extra room you never thought you’d have.
Table of Contents
Project Overview

Total Time: 4 hours 30 minutes
Estimated Cost: $200 – $500
Difficulty Level: Intermediate
Tools Required
- Circular Saw ((for cutting lumber))
- Drill Press ((for precise drilling))
- Hand Saw ((for cutting small pieces))
- Sander ((for smoothing out wood))
- Tape Measure ((for accurate measurements))
- Level ((for ensuring proper alignment))
- Wrench ((for tightening bolts))
- Pencil ((for marking wood))
Supplies & Materials
- 2-in x 4-in lumber ((for frame construction))
- 3/4-in plywood ((for bed platform))
- Hinges ((for folding mechanism))
- Screws ((for assembling frame))
- Bolts ((for securing hinges))
- Wood Glue ((for reinforcing joints))
- Sandpaper ((for smoothing out wood))
- Paint or Stain ((for finishing the bed))
Step-by-Step Instructions
- 1. First, gather your materials and tools, because trust me, you don’t want to be running back and forth to the hardware store in the middle of this project. You’ll need a list of basics like a drill press, saw, and sandpaper, as well as the lumber and hardware for the bed itself. Make sure you have everything before you start, it’ll save you a lot of headaches.
- 2. Next, measure your space carefully to determine the best size for your Murphy bed. Consider the height of the ceiling, the width of the room, and the location of any windows or doors. You want to make sure your bed fits comfortably in the space and doesn’t overwhelm the room.
- 3. Now it’s time to cut your lumber to size. Use your measurements from step 2 to cut the frame, shelves, and any other components of your Murphy bed. Be precise and take your time, because accurate cuts are crucial to the overall stability and safety of the bed.
- 4. Assemble the frame of your Murphy bed using the cut lumber and hardware. This is where things can get a little tricky, so make sure to follow your plans carefully and double-check your work as you go. Use clamps to hold the pieces in place while you screw them together.
- 5. Install the hinge mechanism, which will allow your Murphy bed to fold up against the wall when not in use. This is a critical component, so make sure it’s securely attached and functioning smoothly. You may need to enlist the help of a friend or family member to hold the bed in place while you attach the hinges.
- 6. Add any finishing touches, such as shelves, trim, or a coat of paint. This is where you can get creative and customize your Murphy bed to fit your personal style and decor. Just be sure not to compromise the structural integrity of the bed with any of your additions.
- 7. Finally, test your Murphy bed to make sure it’s safe and functional. Fold it up and down several times to ensure the hinge mechanism is working smoothly, and check for any signs of wear or stress on the frame. If everything looks good, you’re ready to start using your new space-saving sleeper.
Diy Murphy Bed Mastery
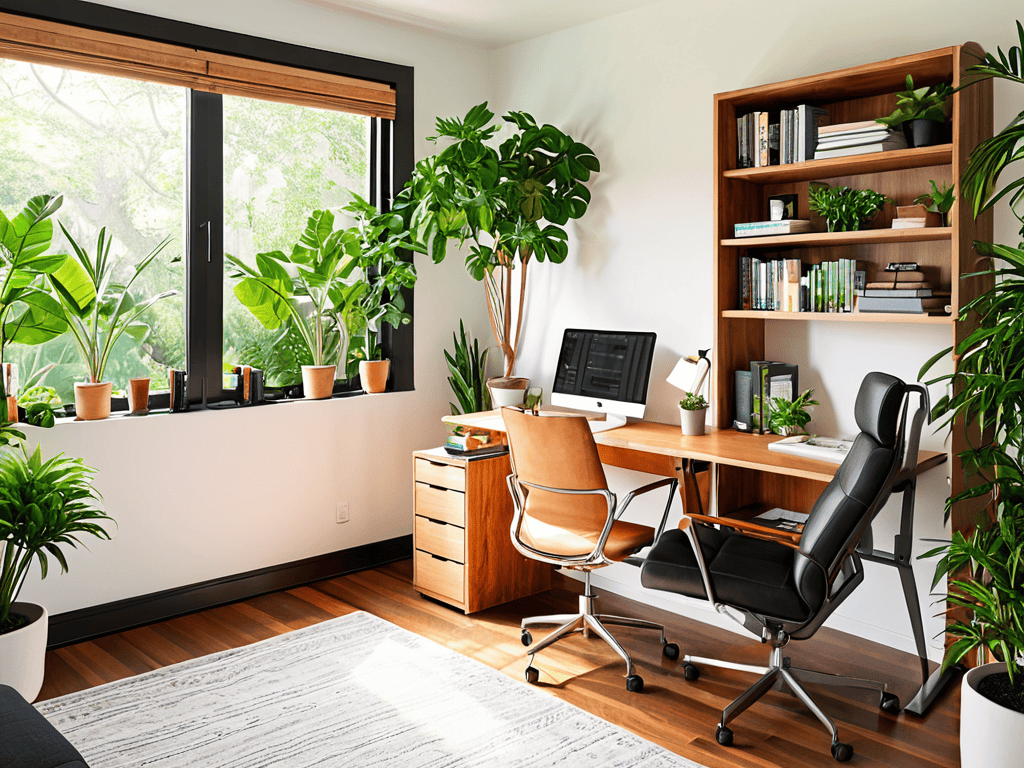
As you master the art of creating your own folding wall bed designs, you’ll start to notice the profound impact it has on your living space. For instance, incorporating a murphy bed desk combination can be a total game-changer, especially for those who work from home. This clever design allows you to switch between work and sleep modes with ease, making the most of your room’s real estate.
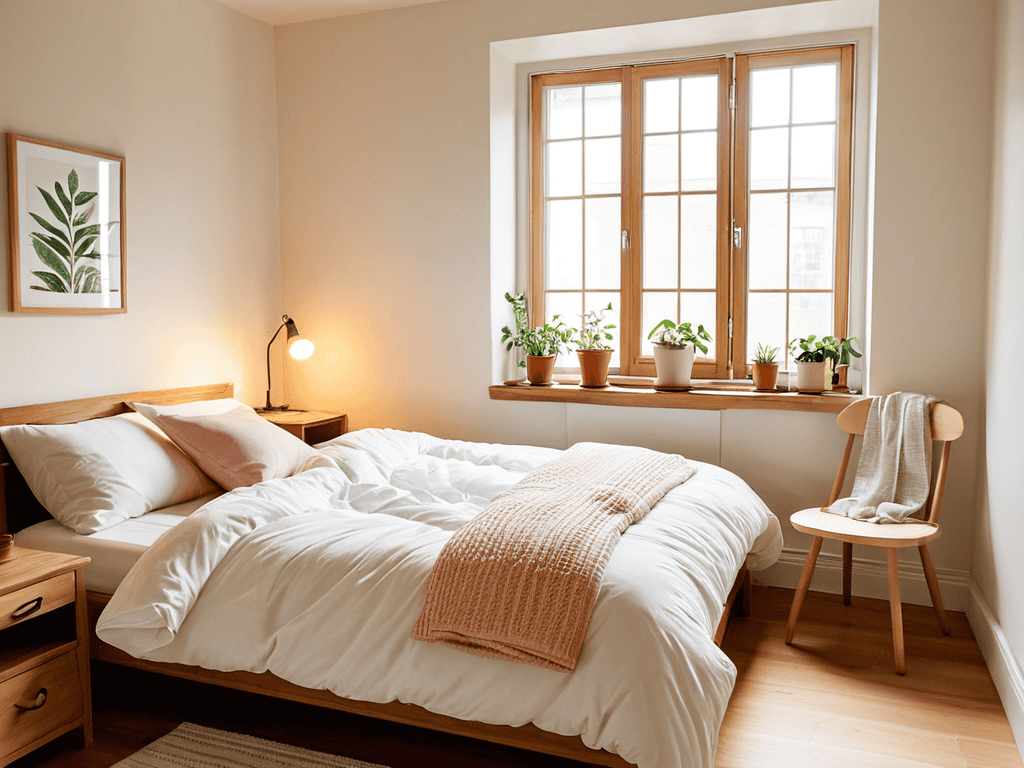
When it comes to space saving furniture ideas, it’s all about striking a balance between form and function. Your murphy bed can be more than just a place to sleep – it can also provide hidden bed storage solutions for your belongings. By incorporating clever storage compartments into your design, you can keep your room clutter-free and organized.
To take your murphy bed to the next level, consider investing in high-quality diy wall bed hardware. This will ensure that your bed is not only sturdy but also easy to operate. With the right hardware, you can create a seamless and sleek design that complements your room’s aesthetic. By following these tips, you’ll be well on your way to creating a murphy bed that’s both functional and beautiful.
Folding Wall Bed Designs Unleashed
Now that we’ve dove into the world of DIY Murphy beds, let’s talk about taking it to the next level with folding wall bed designs. These sleek and modern creations are perfect for studios, guest rooms, or anywhere you want to maximize space. By incorporating a folding mechanism, you can create a bed that seamlessly transitions from a comfortable sleeping area to a stylish wall fixture.
With a little creativity, the possibilities are endless – from sleek, minimalist designs to elaborate, multi-functional pieces that include storage, desks, or even sofas. The key is to think outside the box and consider how your folding wall bed can serve multiple purposes, making it a true masterpiece of DIY Murphy bed mastery.
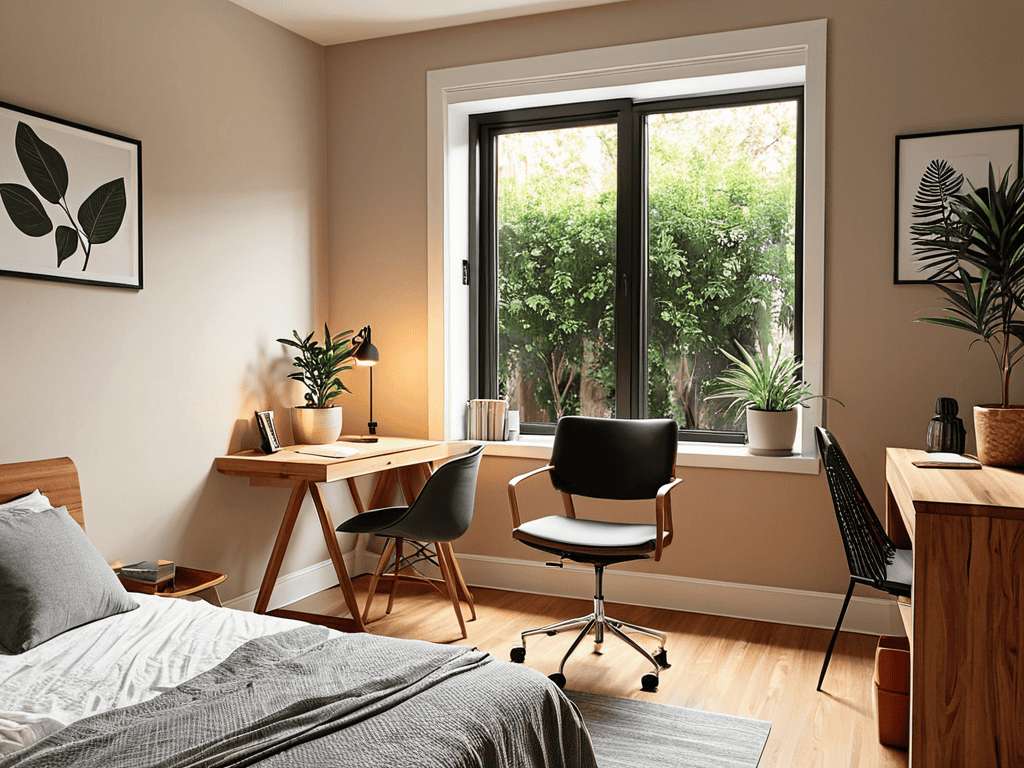
Murphy Bed Desk Combination Hacks
To take your Murphy bed game to the next level, consider incorporating a desk into the design. This combo is perfect for tiny homes, guest rooms, or home offices. By folding up the bed, you can create a functional workspace that’s both stylish and practical. Plus, it’s a great way to maximize that often-wasted wall space.
As you’re working on your DIY Murphy bed project, it’s essential to take breaks and relax – after all, building something with your own hands can be a great way to unwind, but it’s not the only way to unwind, if you know what I mean. If you’re looking for some adult conversation to pass the time, I’ve found that chatting with others who share similar interests can be a great way to take your mind off things, and there are plenty of online communities where you can do just that, like Kostenloser Sex Chat, which can be a fun way to meet new people and make connections. Just remember to prioritize your safety and well-being, and never compromise your values or boundaries, whether you’re building a Murphy bed or just chatting with someone new.
I’ve seen some amazing hacks online, from simple fold-down desks to more complex designs with built-in shelving and storage. If you’re feeling ambitious, you could even add some fancy features like a keyboard tray or a hidden compartment. The key is to think creatively and design a space that works for your unique needs and style.
Murphy Bed Magic: 5 Essential Tips to Get You Started
- Measure Twice, Build Once: Double-check your room’s dimensions and the bed’s specifications to ensure a flawless fit
- Choose the Right Materials: Select sturdy woods and durable hardware to guarantee your Murphy bed withstands the test of time
- Consider the Fold: Decide on a folding mechanism that suits your needs – wall-mounted, horizontal, or vertical – to maximize space and functionality
- Add Some Flair: Incorporate decorative elements, such as trim, paint, or hardware, to make your Murphy bed a stylish statement piece
- Test and Refine: Assemble and disassemble your Murphy bed to identify potential issues and make necessary adjustments for a silky-smooth operation
Key Takeaways for a Successful DIY Murphy Bed Project
I’ve learned that with some patience and the right tools, building a Murphy bed can be a fun and rewarding DIY experience that adds a unique touch to any room
Combining a Murphy bed with a desk or other functional element can be a great way to maximize space and create a multi-purpose area that’s perfect for work, study, or play
By choosing the right design and materials, and taking the time to plan and execute the build carefully, you can create a sturdy, reliable, and comfortable Murphy bed that will provide years of service and enjoyment
Embracing Space-Saving Wisdom
A DIY Murphy bed is more than just a clever way to save space – it’s a declaration of independence from clutter and a celebration of the beauty in functional design.
Amanda Green
Conclusion
As we’ve seen throughout this DIY Murphy bed journey, creating a space-saving sleeper can be a fun and rewarding project. From the initial planning to the final assembly, it’s essential to stay focused and patient. We’ve covered various designs, including folding wall bed options and Murphy bed desk combinations, to help you find the perfect fit for your needs. By following these steps and tips, you’ll be well on your way to enjoying a comfortable and functional sleeping area.
So, what’s holding you back from unleashing your inner DIY master? Remember, the key to a successful project is to take it one step at a time and not be afraid to get creative. With a DIY Murphy bed, you’ll not only be gaining a unique piece of furniture but also a sense of accomplishment that comes with building something with your own hands. Happy building, and don’t hesitate to share your own DIY Murphy bed stories and tips with others!
Frequently Asked Questions
What are the most common mistakes to avoid when building a DIY Murphy bed?
Honestly, I’ve learned the hard way – don’t skip measuring twice, and for the love of all things good, don’t underestimate the weight capacity of your wall. I’ve seen friends’ DIY Murphy beds come crashing down, literally. Also, make sure to properly secure the bed to the wall to avoid any accidents.
How do I ensure my DIY Murphy bed is safely secured to the wall?
To ensure my DIY Murphy bed doesn’t become a falling hazard, I made sure to anchor it to the wall using heavy-duty brackets and screws. I also double-checked the weight limit and used wall anchors to distribute the load evenly – it’s all about being thorough and not skipping the small stuff!
Can I customize my DIY Murphy bed with different materials or designs to match my bedroom decor?
Absolutely, you can customize your DIY Murphy bed to fit your unique style. Try mixing and matching different materials, like wood or metal, and play with various designs, such as a sleek modern look or a rustic charm, to match your bedroom decor.